MOCHIZUKI RESOL GOLF CLUB
- DRAMATIC GOLF
- DRAMATIC GOLF
- DRAMATIC GOLF
- DRAMATIC GOLF
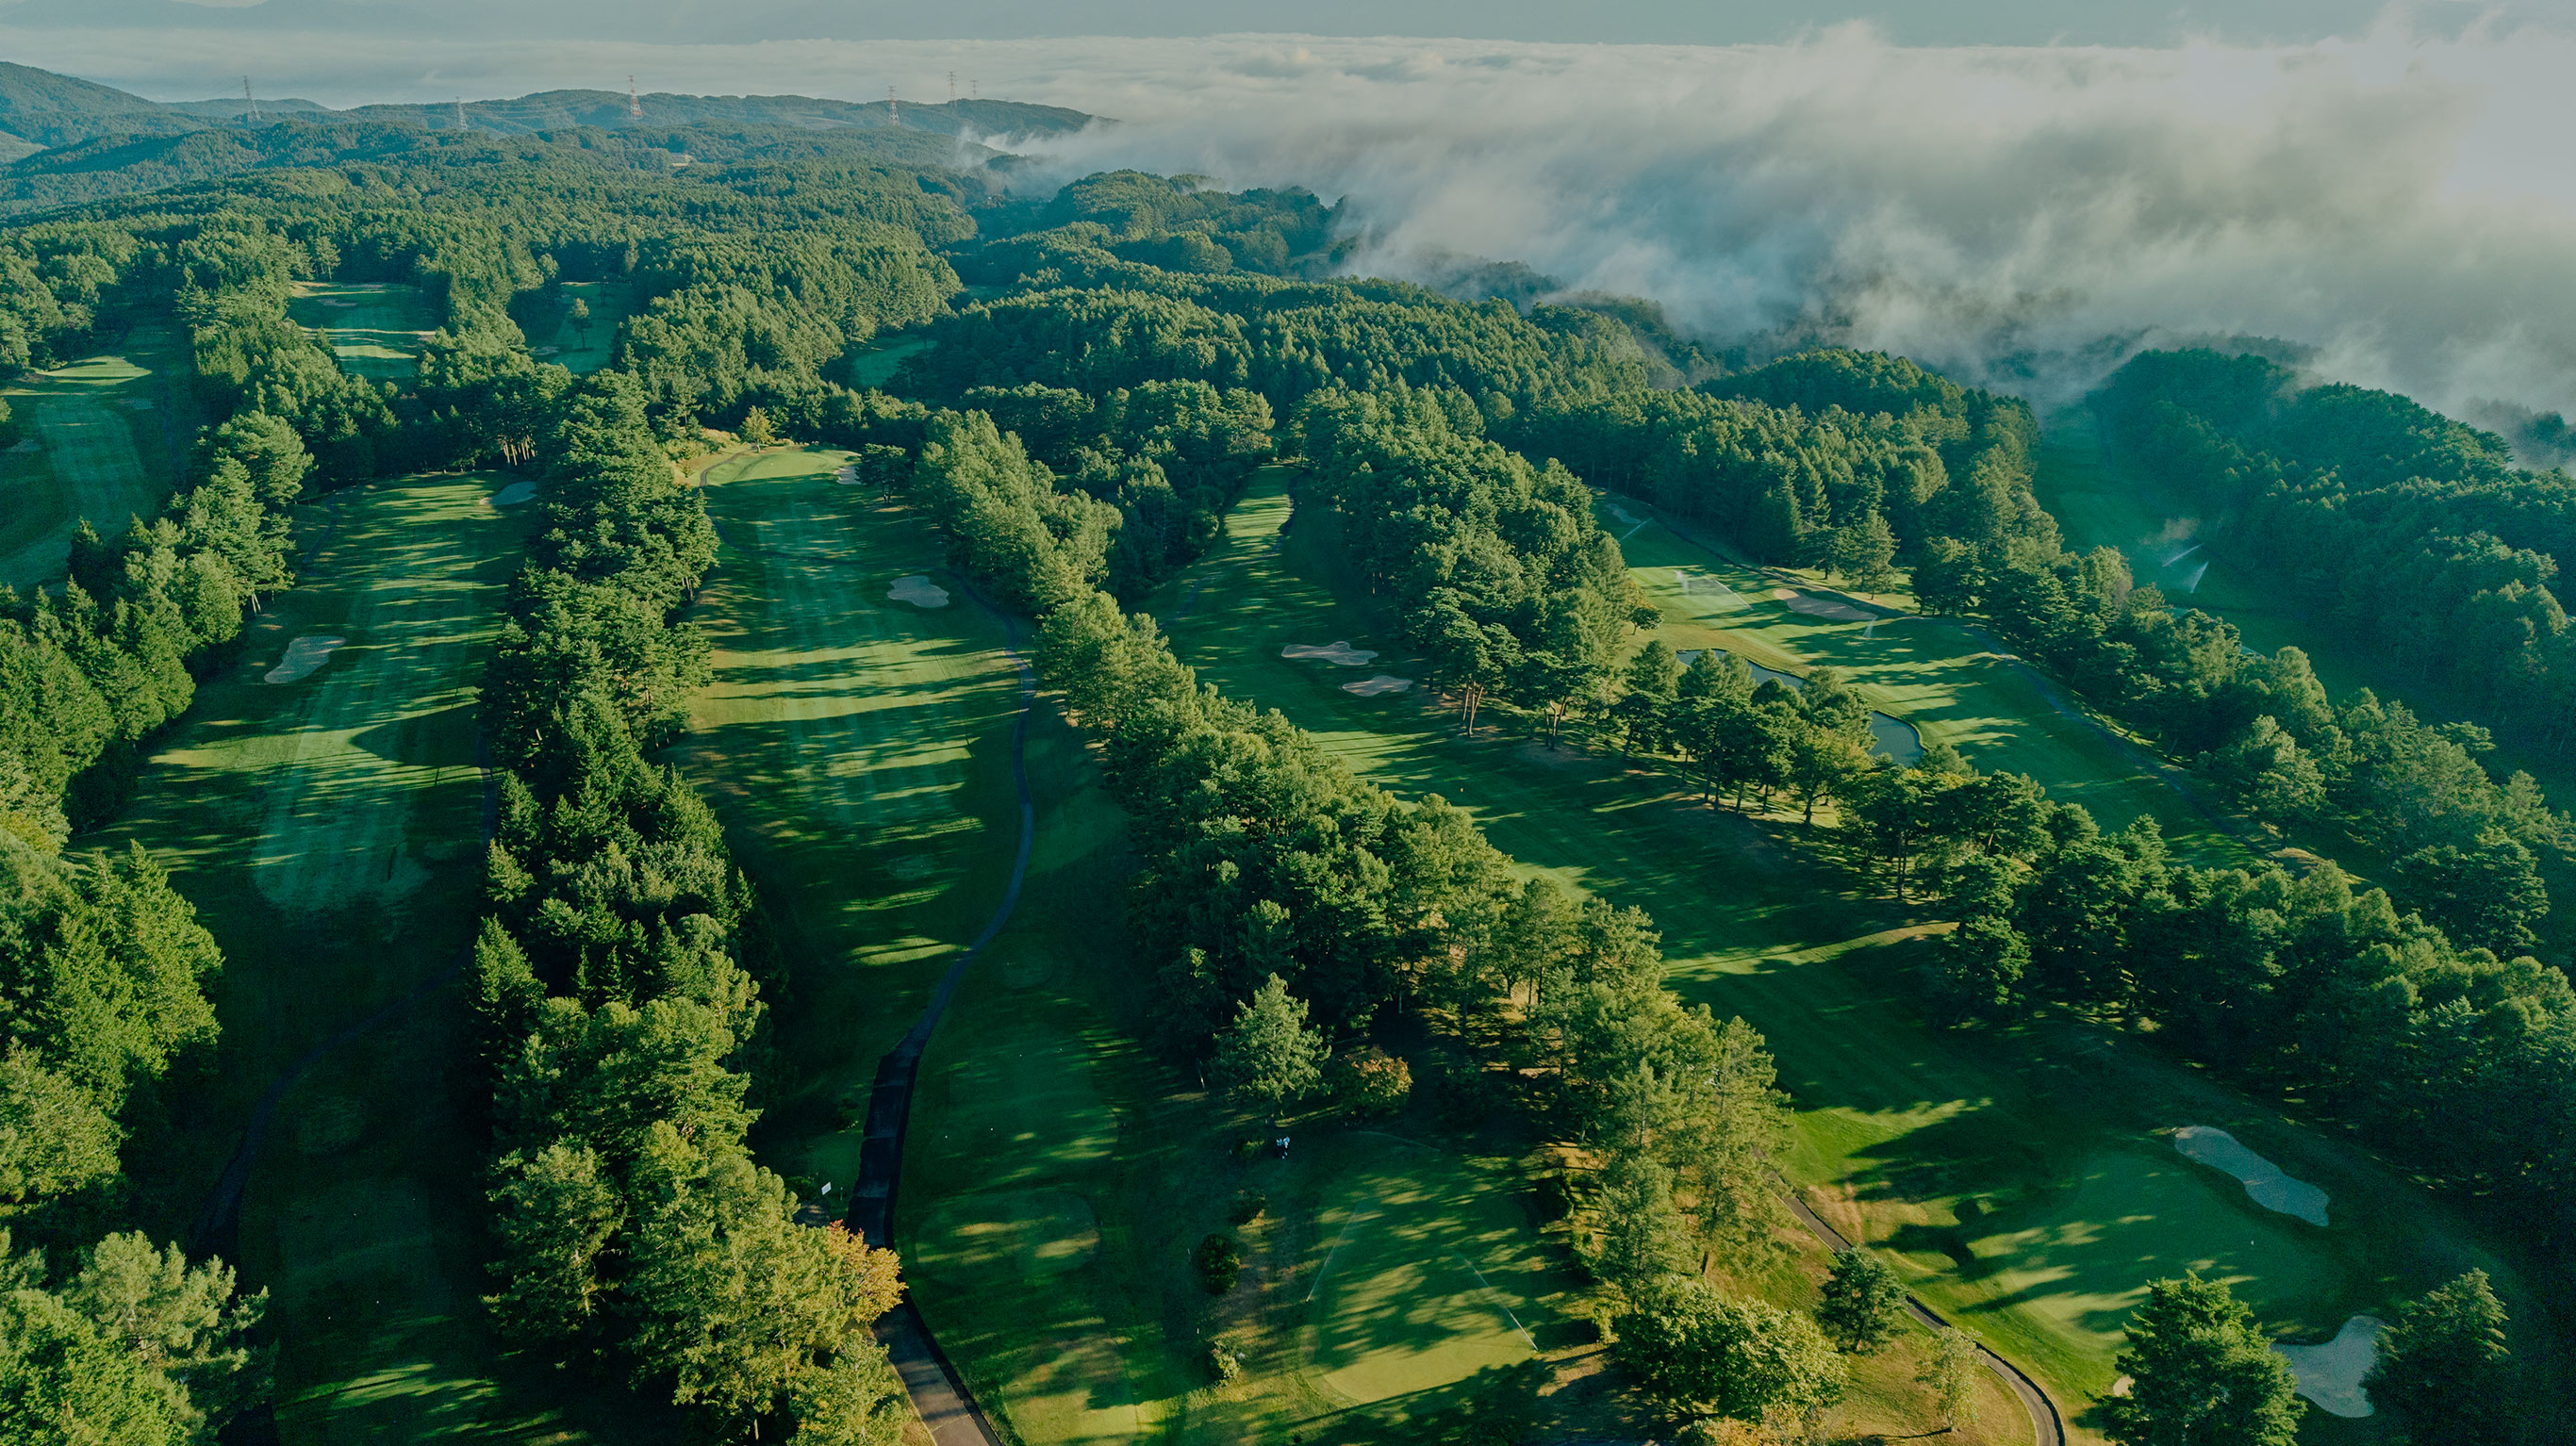
The ridgelines of Mount Asama and Mount Tateshina stretch into the pure, clear light.
Experience the highland atmosphere unique to Mochizuki.
In the landscape where Mount Asama and Mount Tateshina breathe so vividly, the fairways gently stretch toward the sky, and the air is clear as far as the eye can see. Just standing here ignites a quiet exhilaration deep within the body.
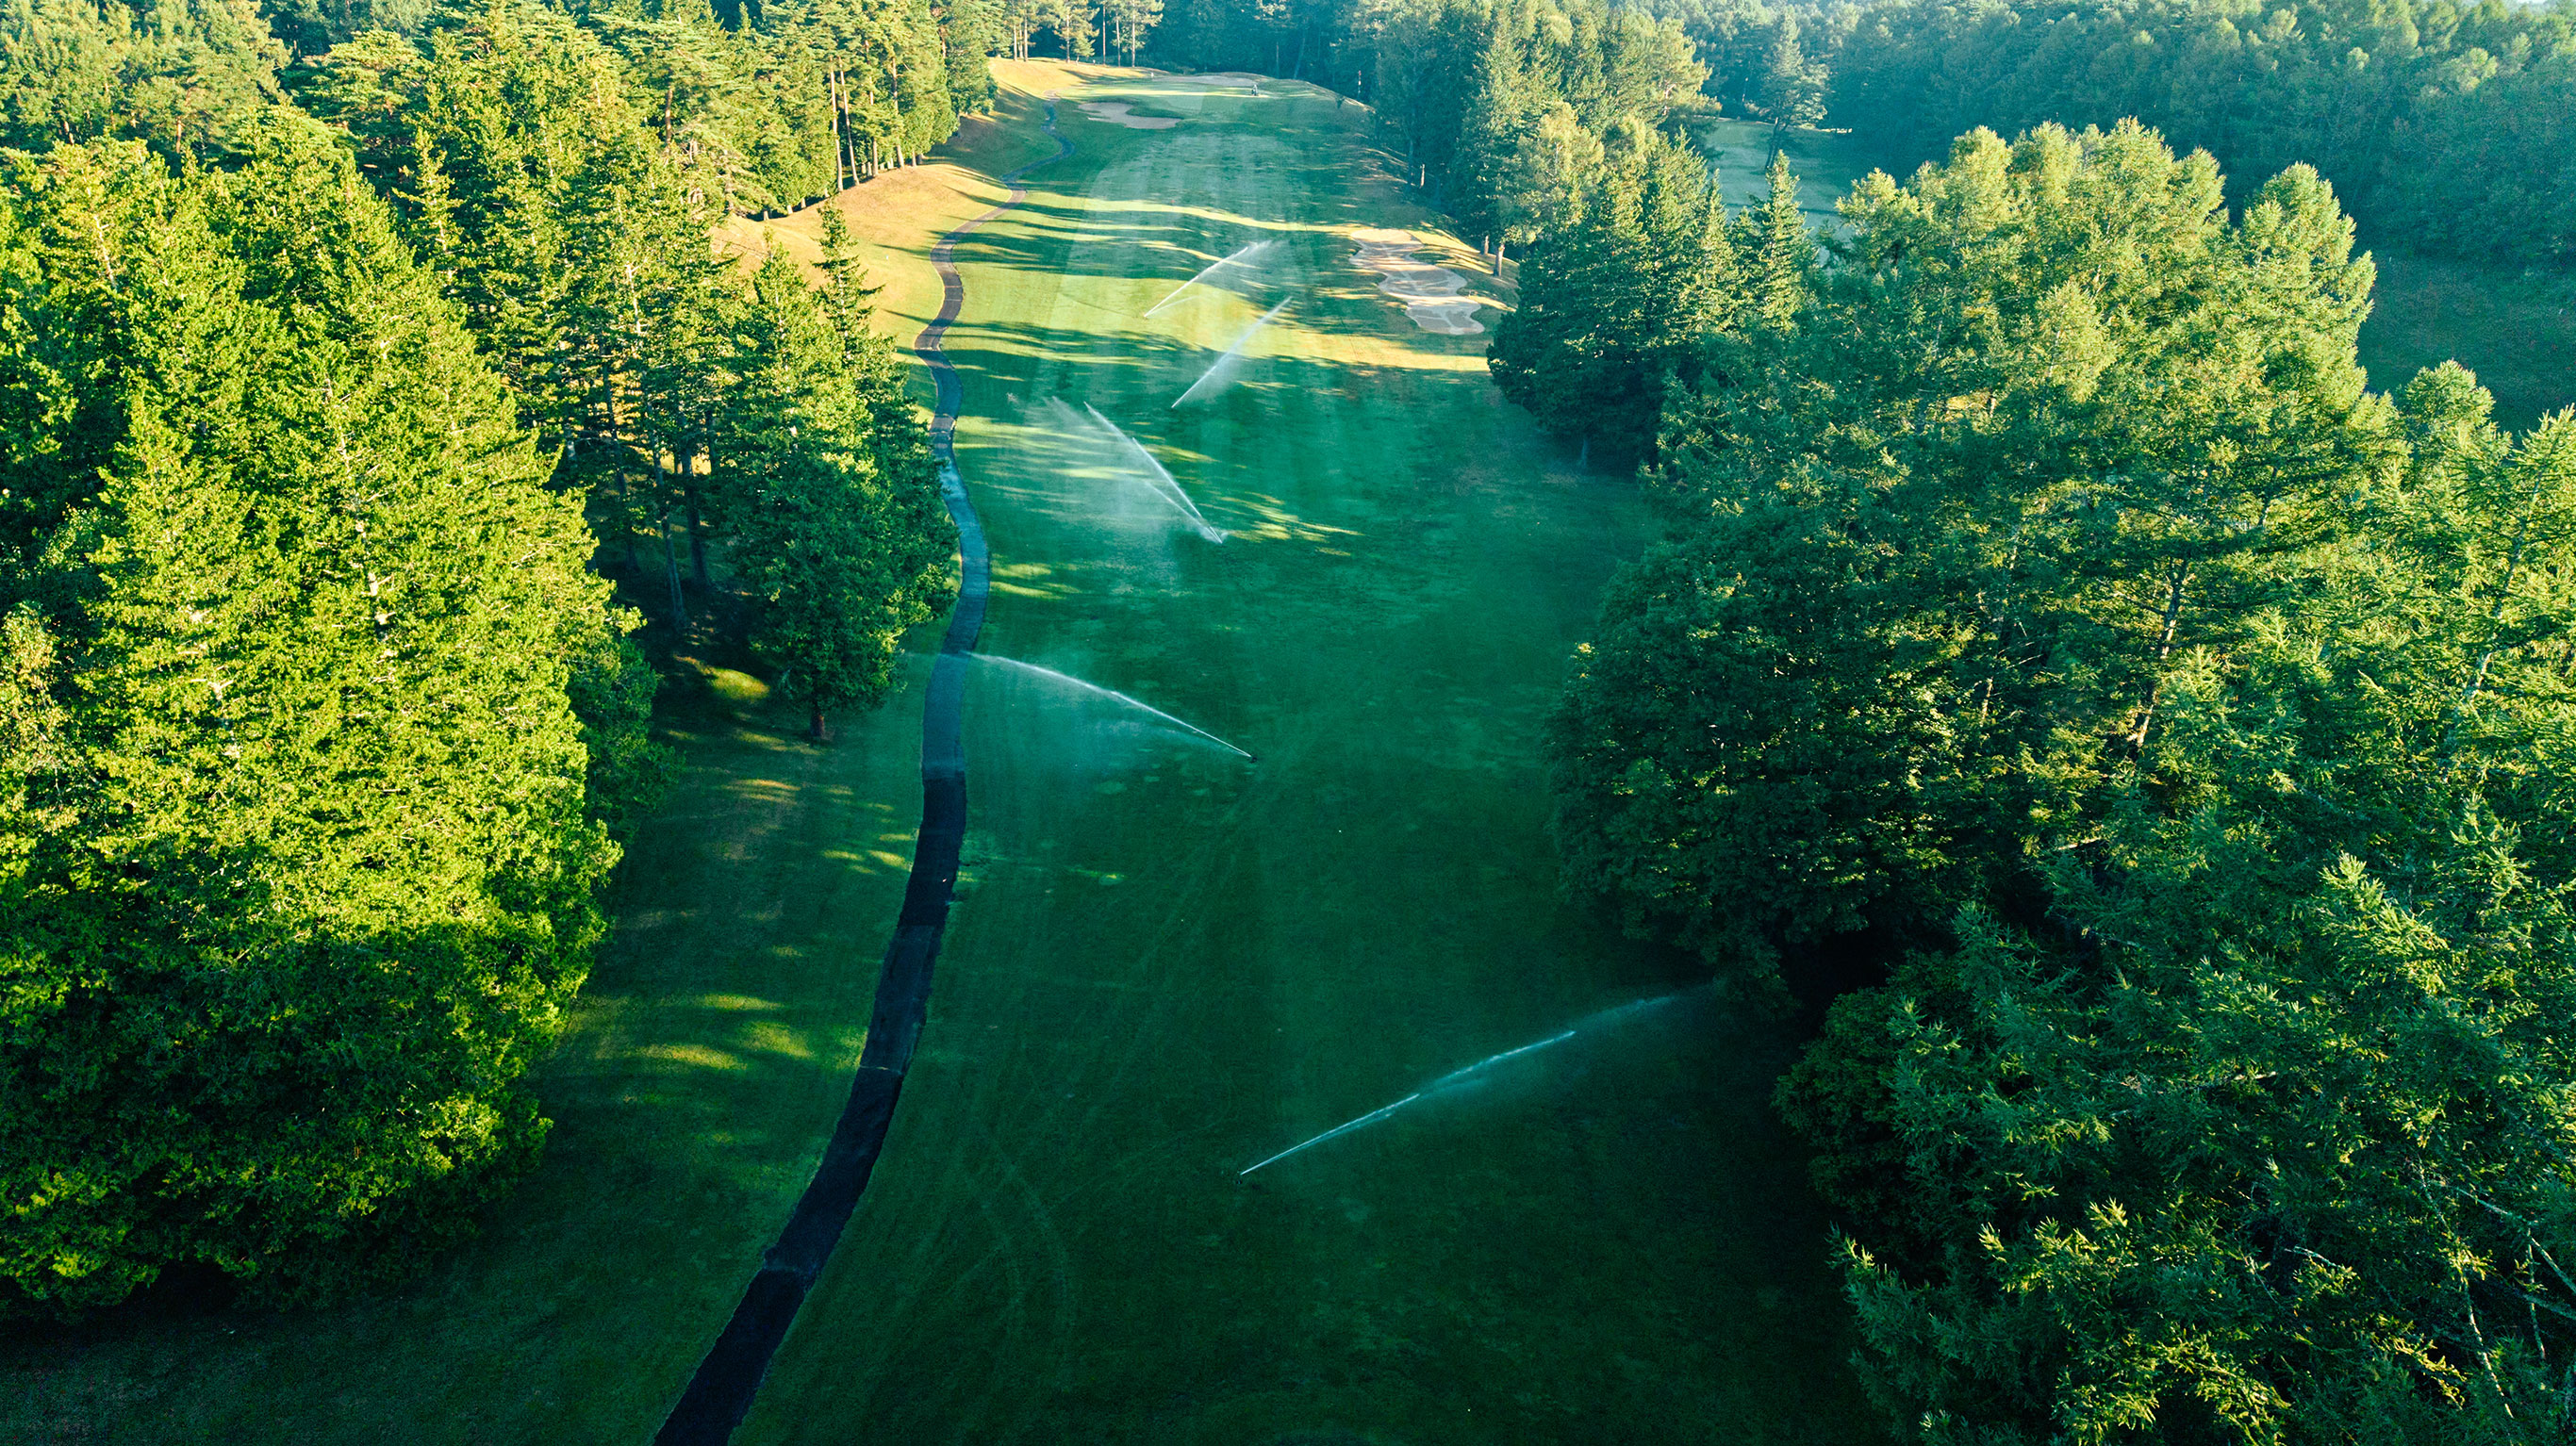
In summer, a cool breeze brushes your cheeks, and the zoysia grass retains its vivid color without changing with the seasons, its neat lines enhancing the beauty of each shot’s trajectory.
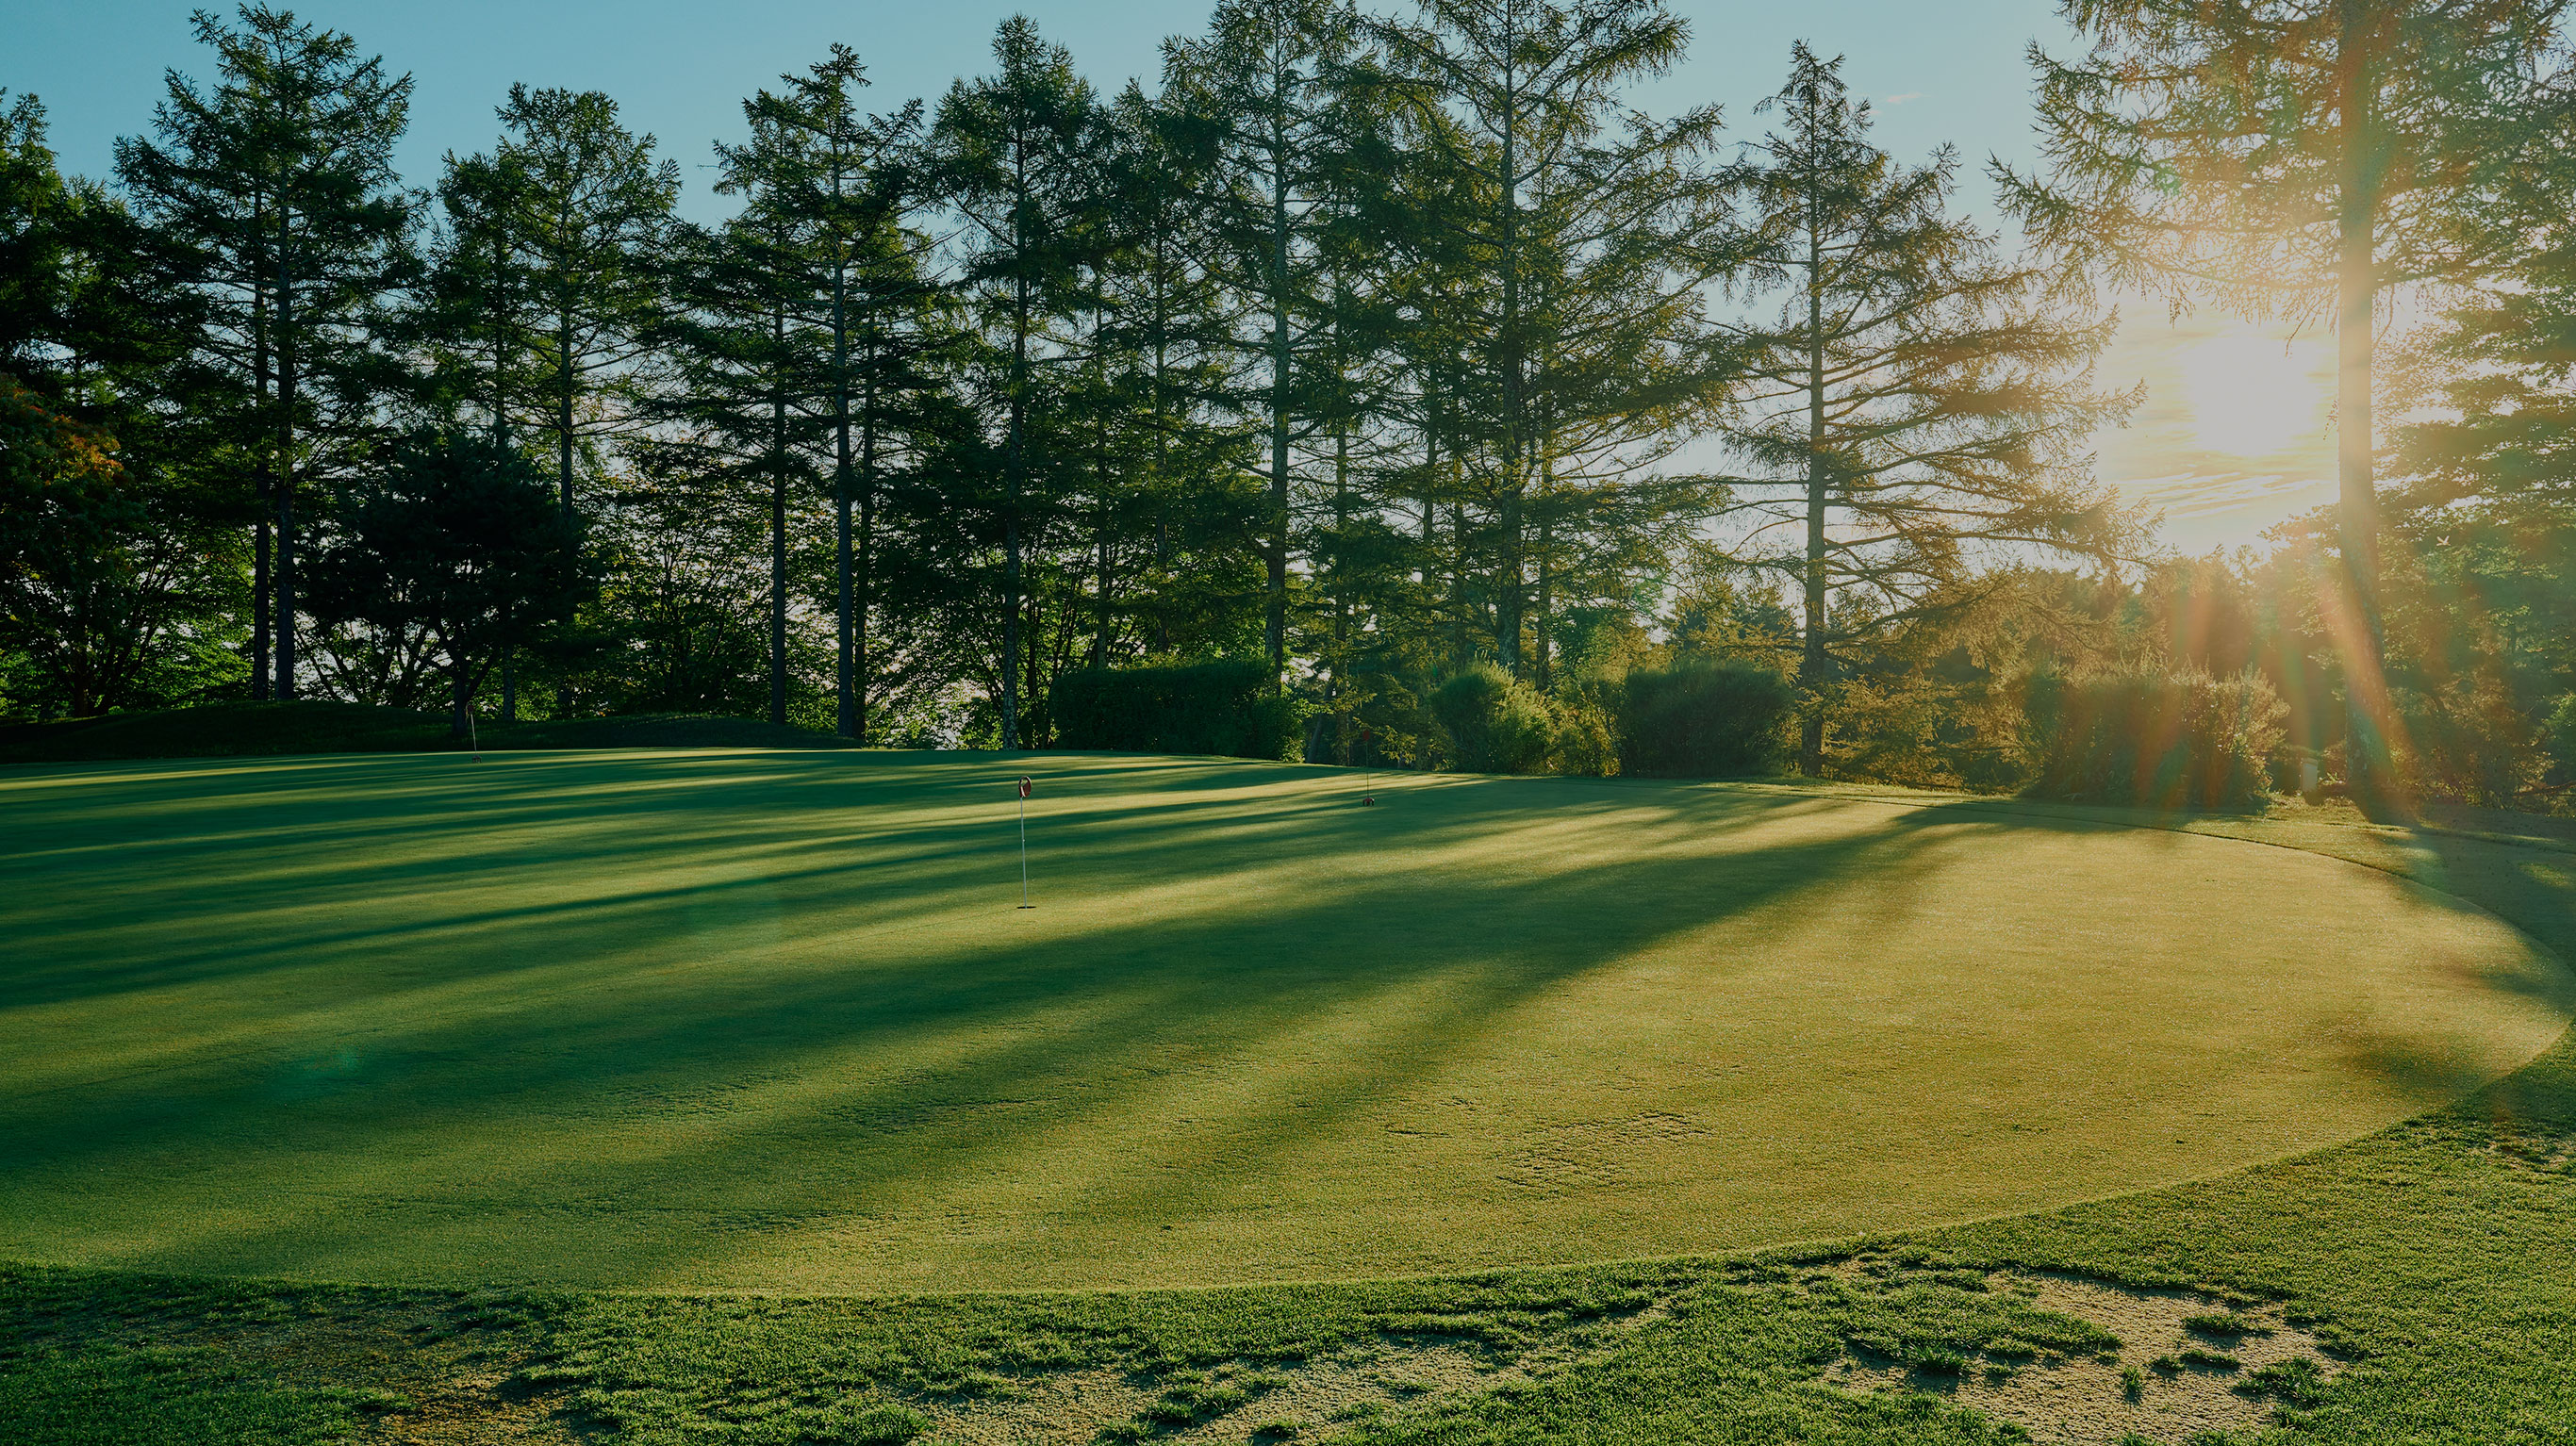
Refreshing light, crystalline air, meticulous design—playing here sharpens your very senses.
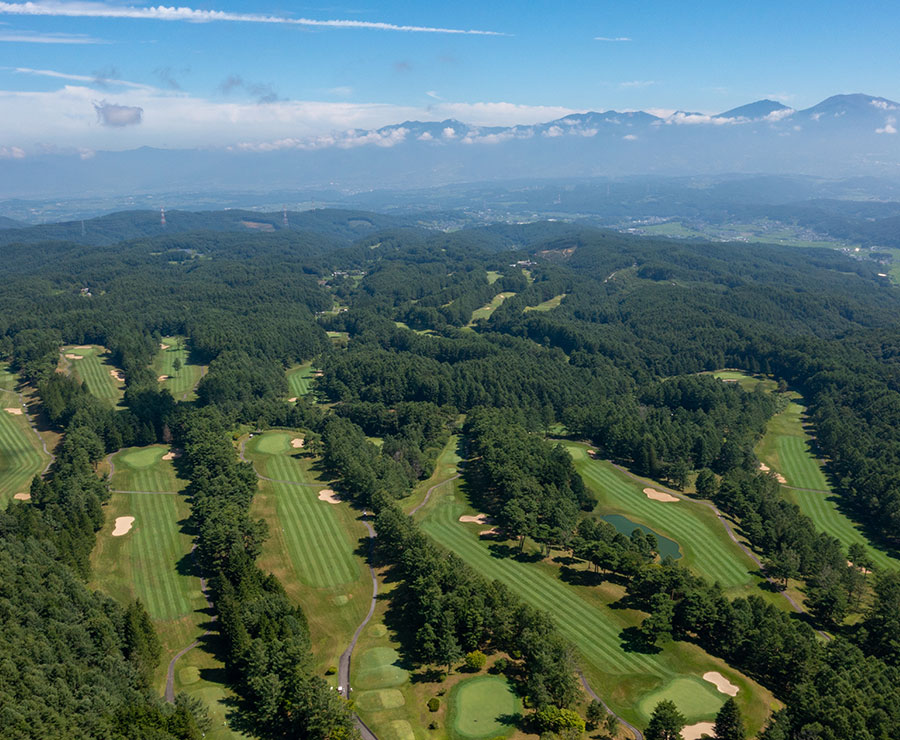
Golf Course[ Map ]
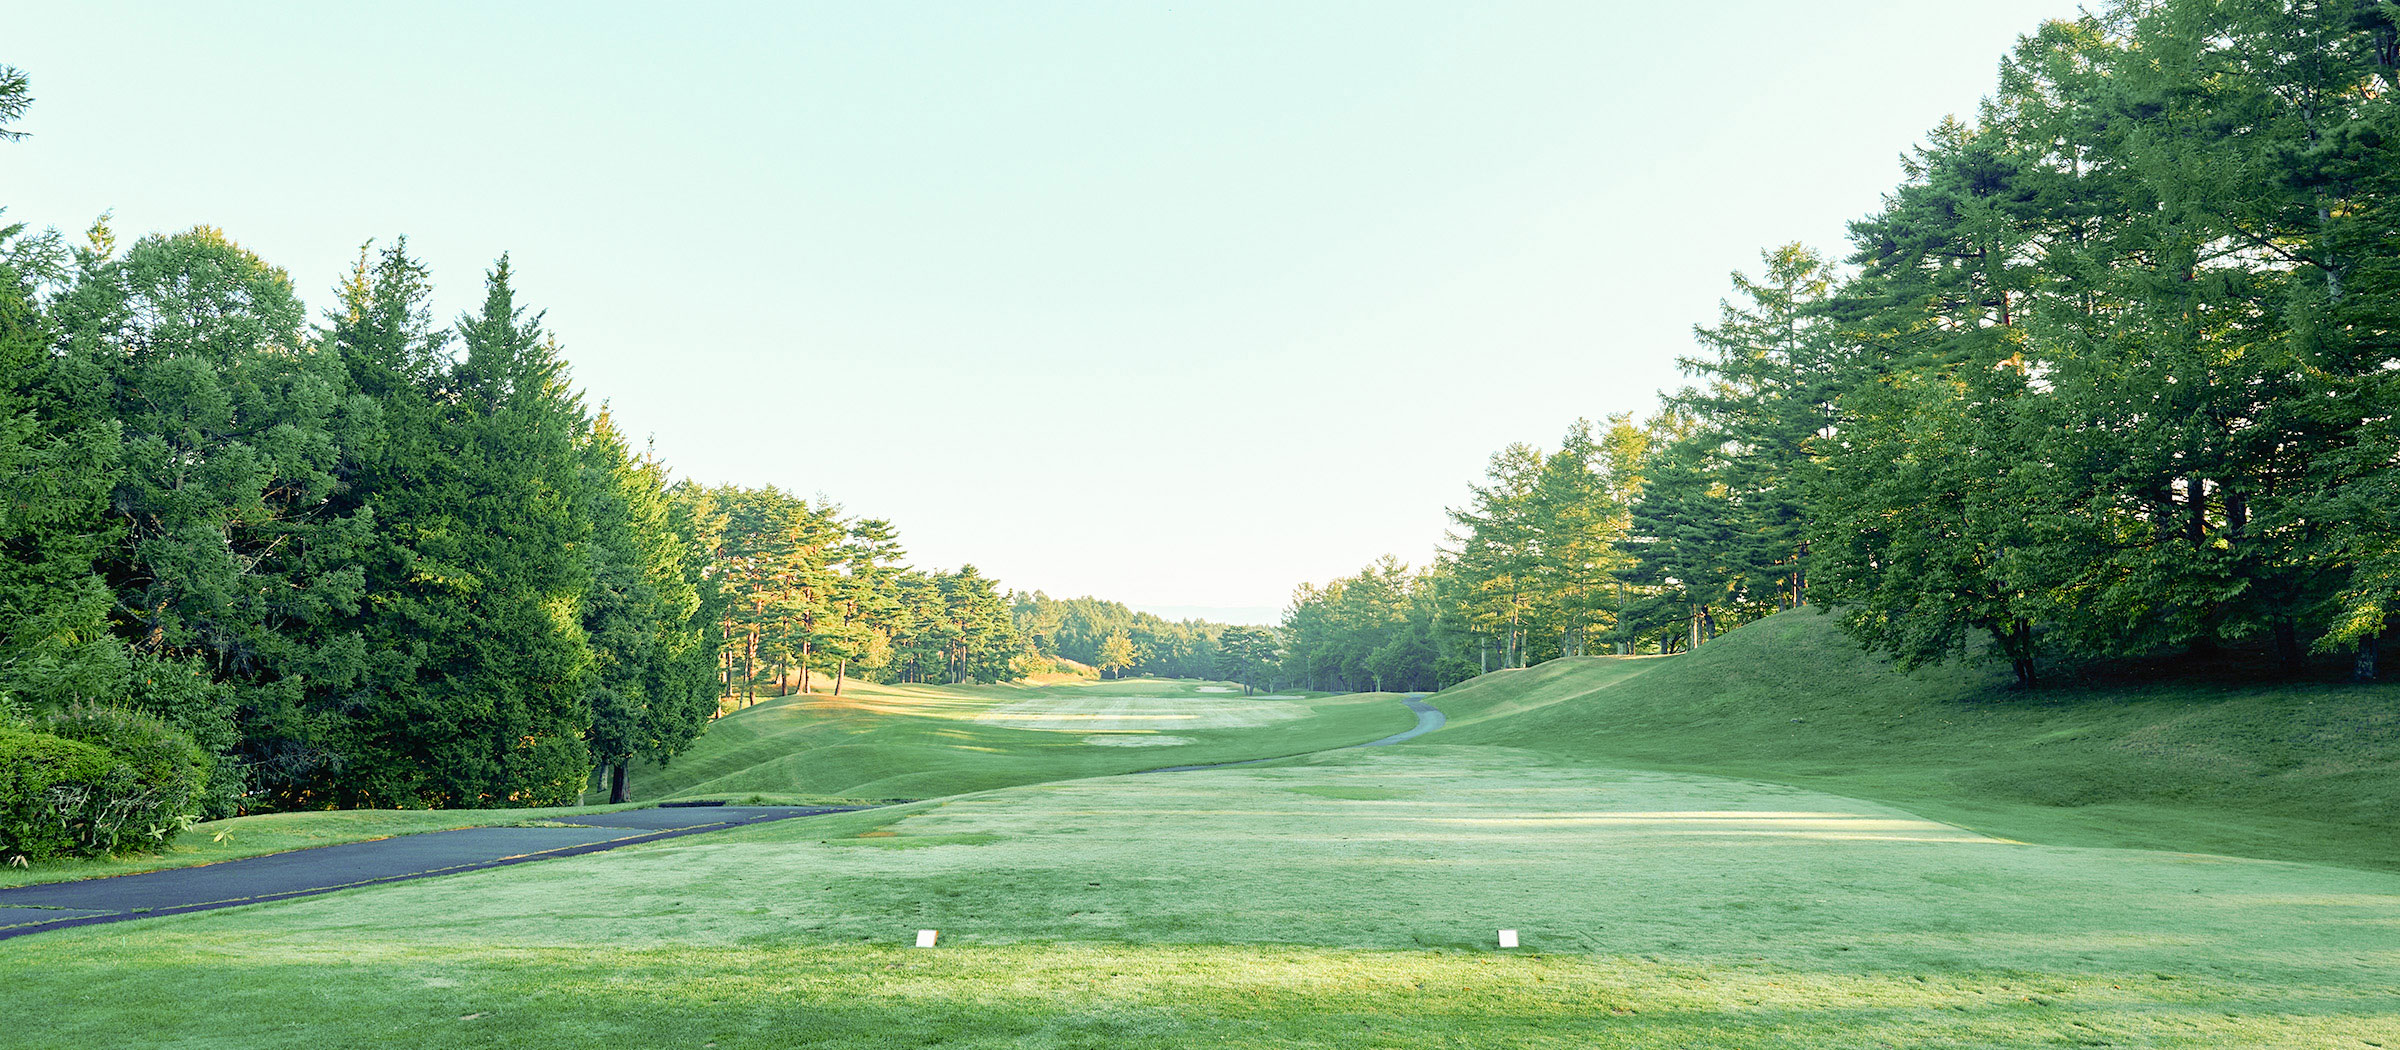
HOLE 1[ PAR 4 ]
A gently downhill long middle hole. The tee shot should be aimed left of the right bunker, while the second shot requires attention to the out-of-bounds area beyond the green.
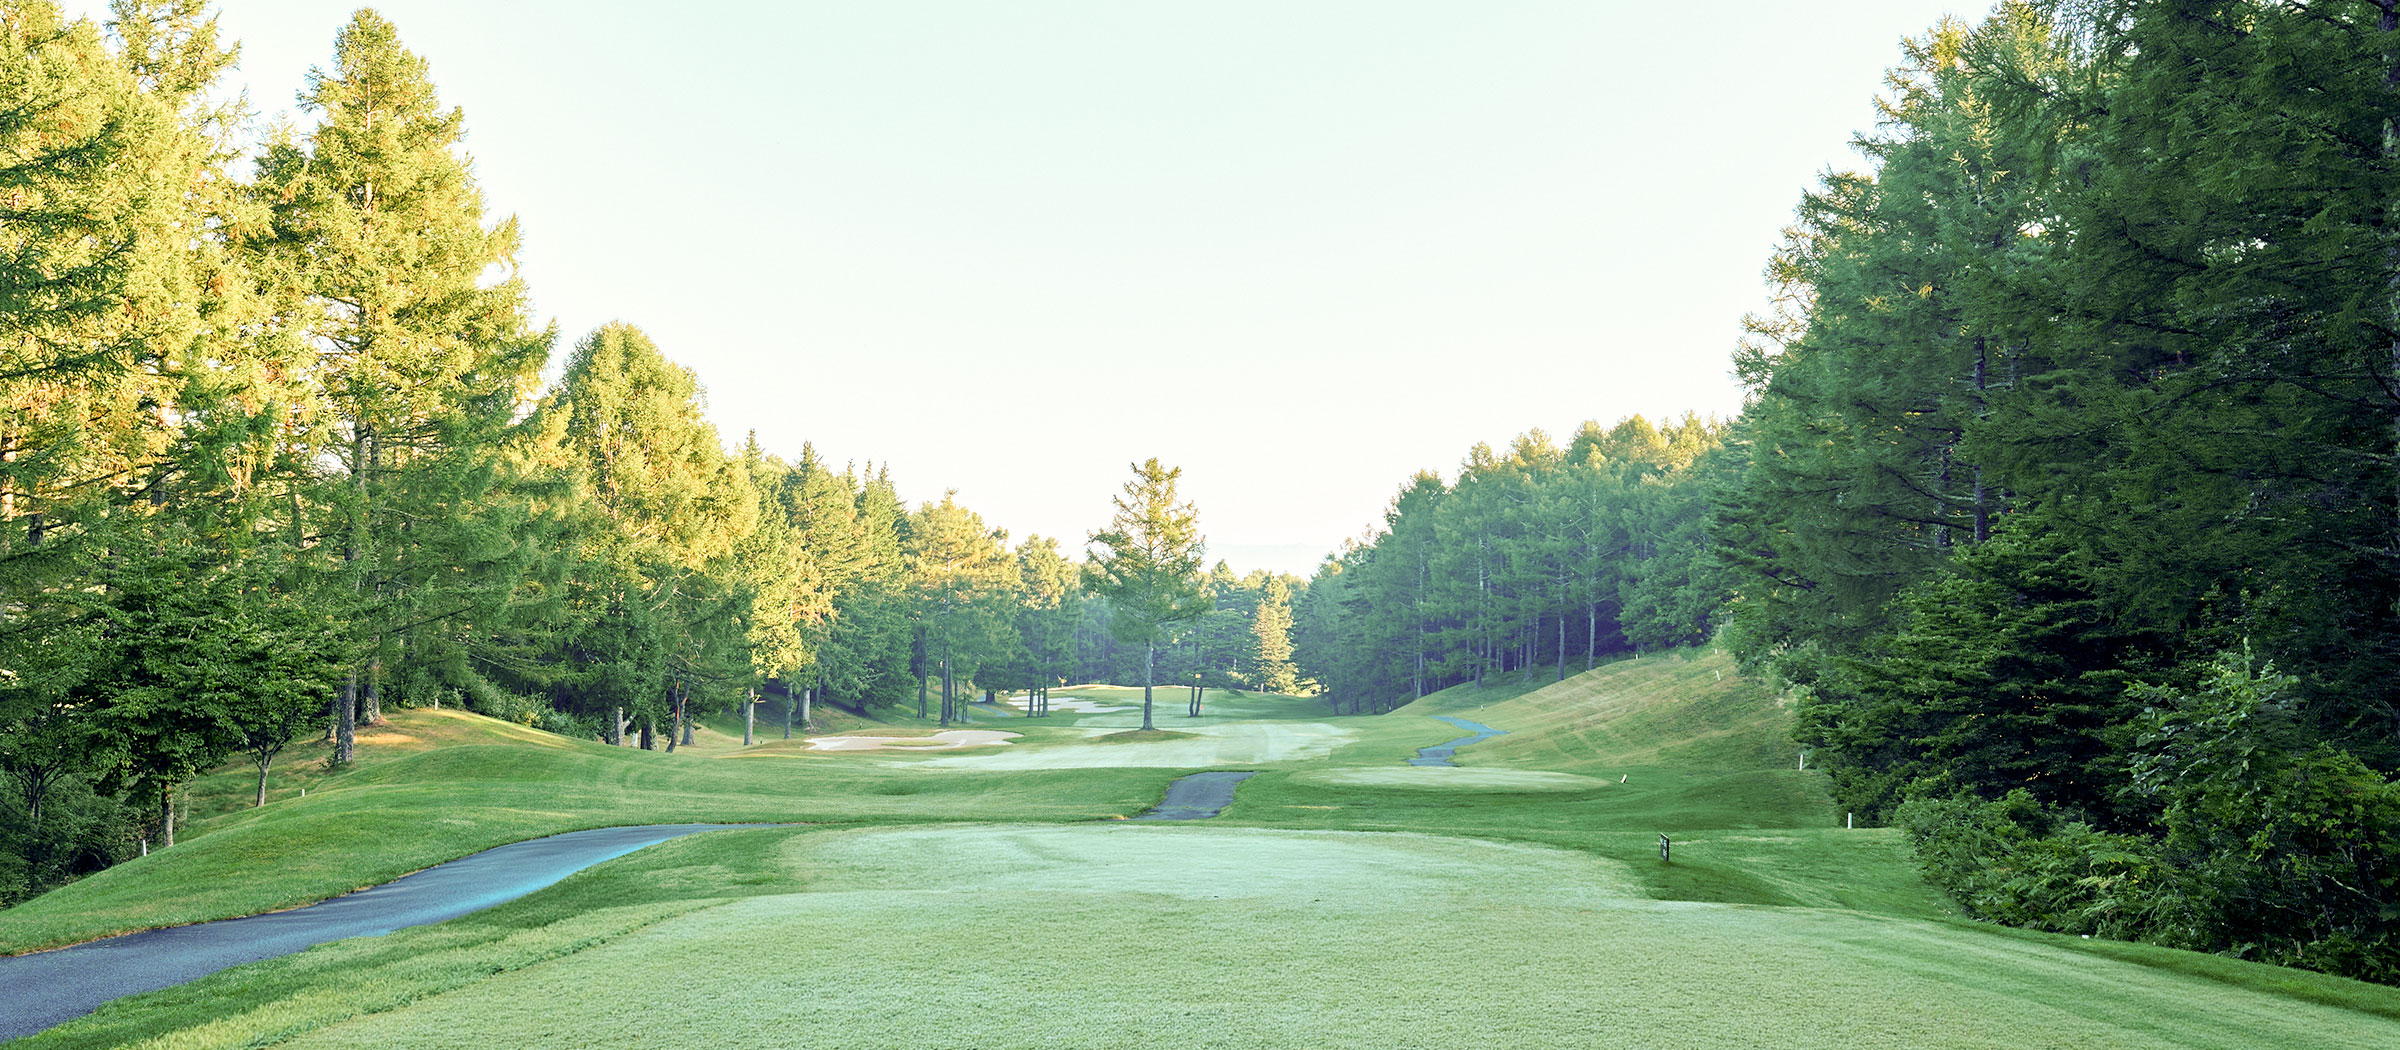
HOLE 2[ PAR 5 ]
A downhill long hole. The tee shot should favor the right side, while long hitters can key their strategy on carrying over the left bunker. The positioning of the pine trees is also an important factor.
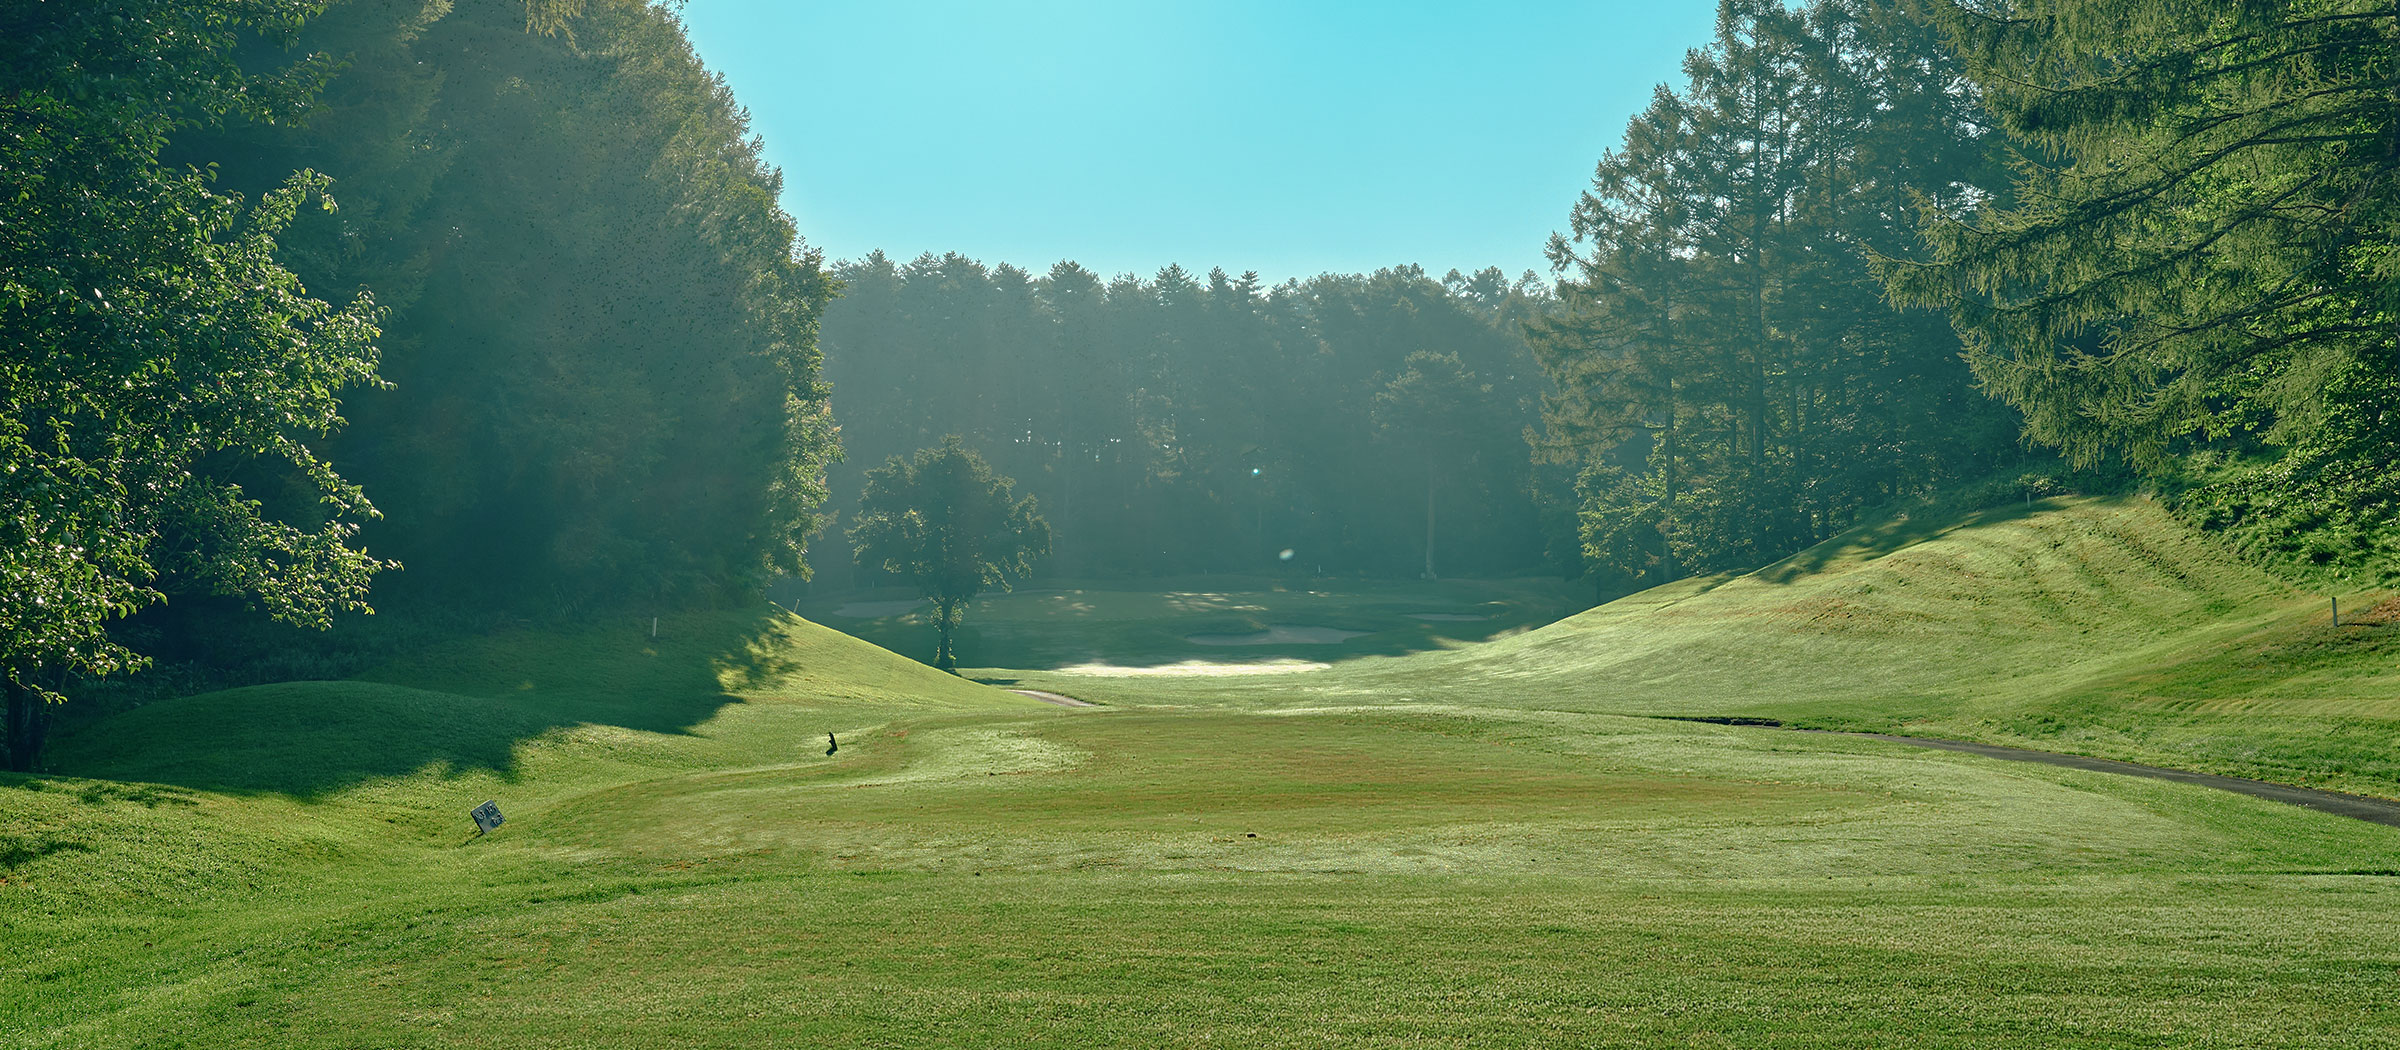
HOLE 3[ PAR 3 ]
A downhill short hole. The difficulty varies depending on the pin position. Avoid the right bunker and left out-of-bounds, and choose your club with care.
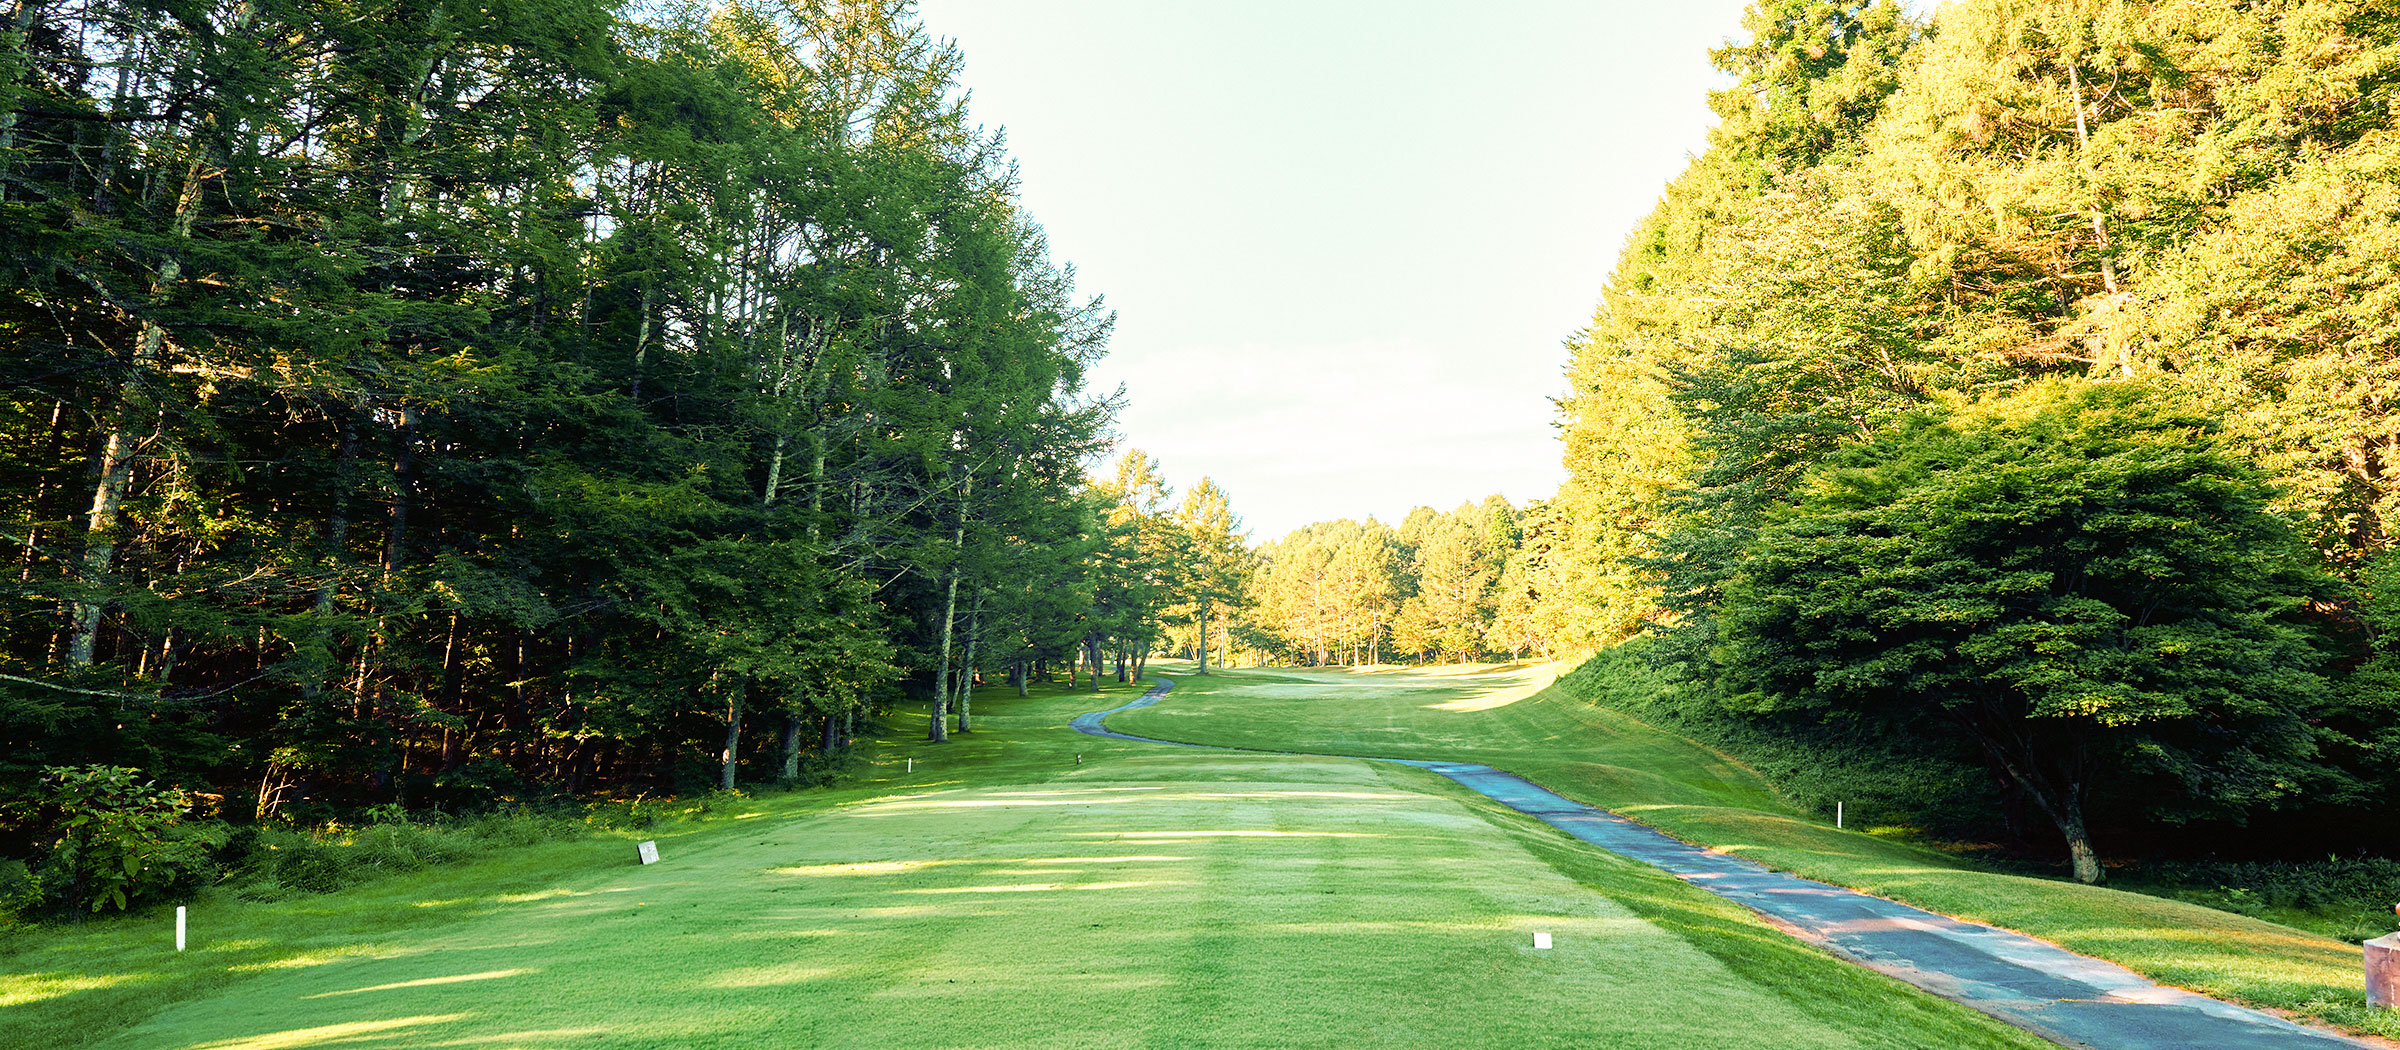
HOLE 4[ PAR 4 ]
A slightly uphill middle hole. The tee shot should favor the right side, while the second shot should be played with the two-tiered structure at the back left of the green in mind.
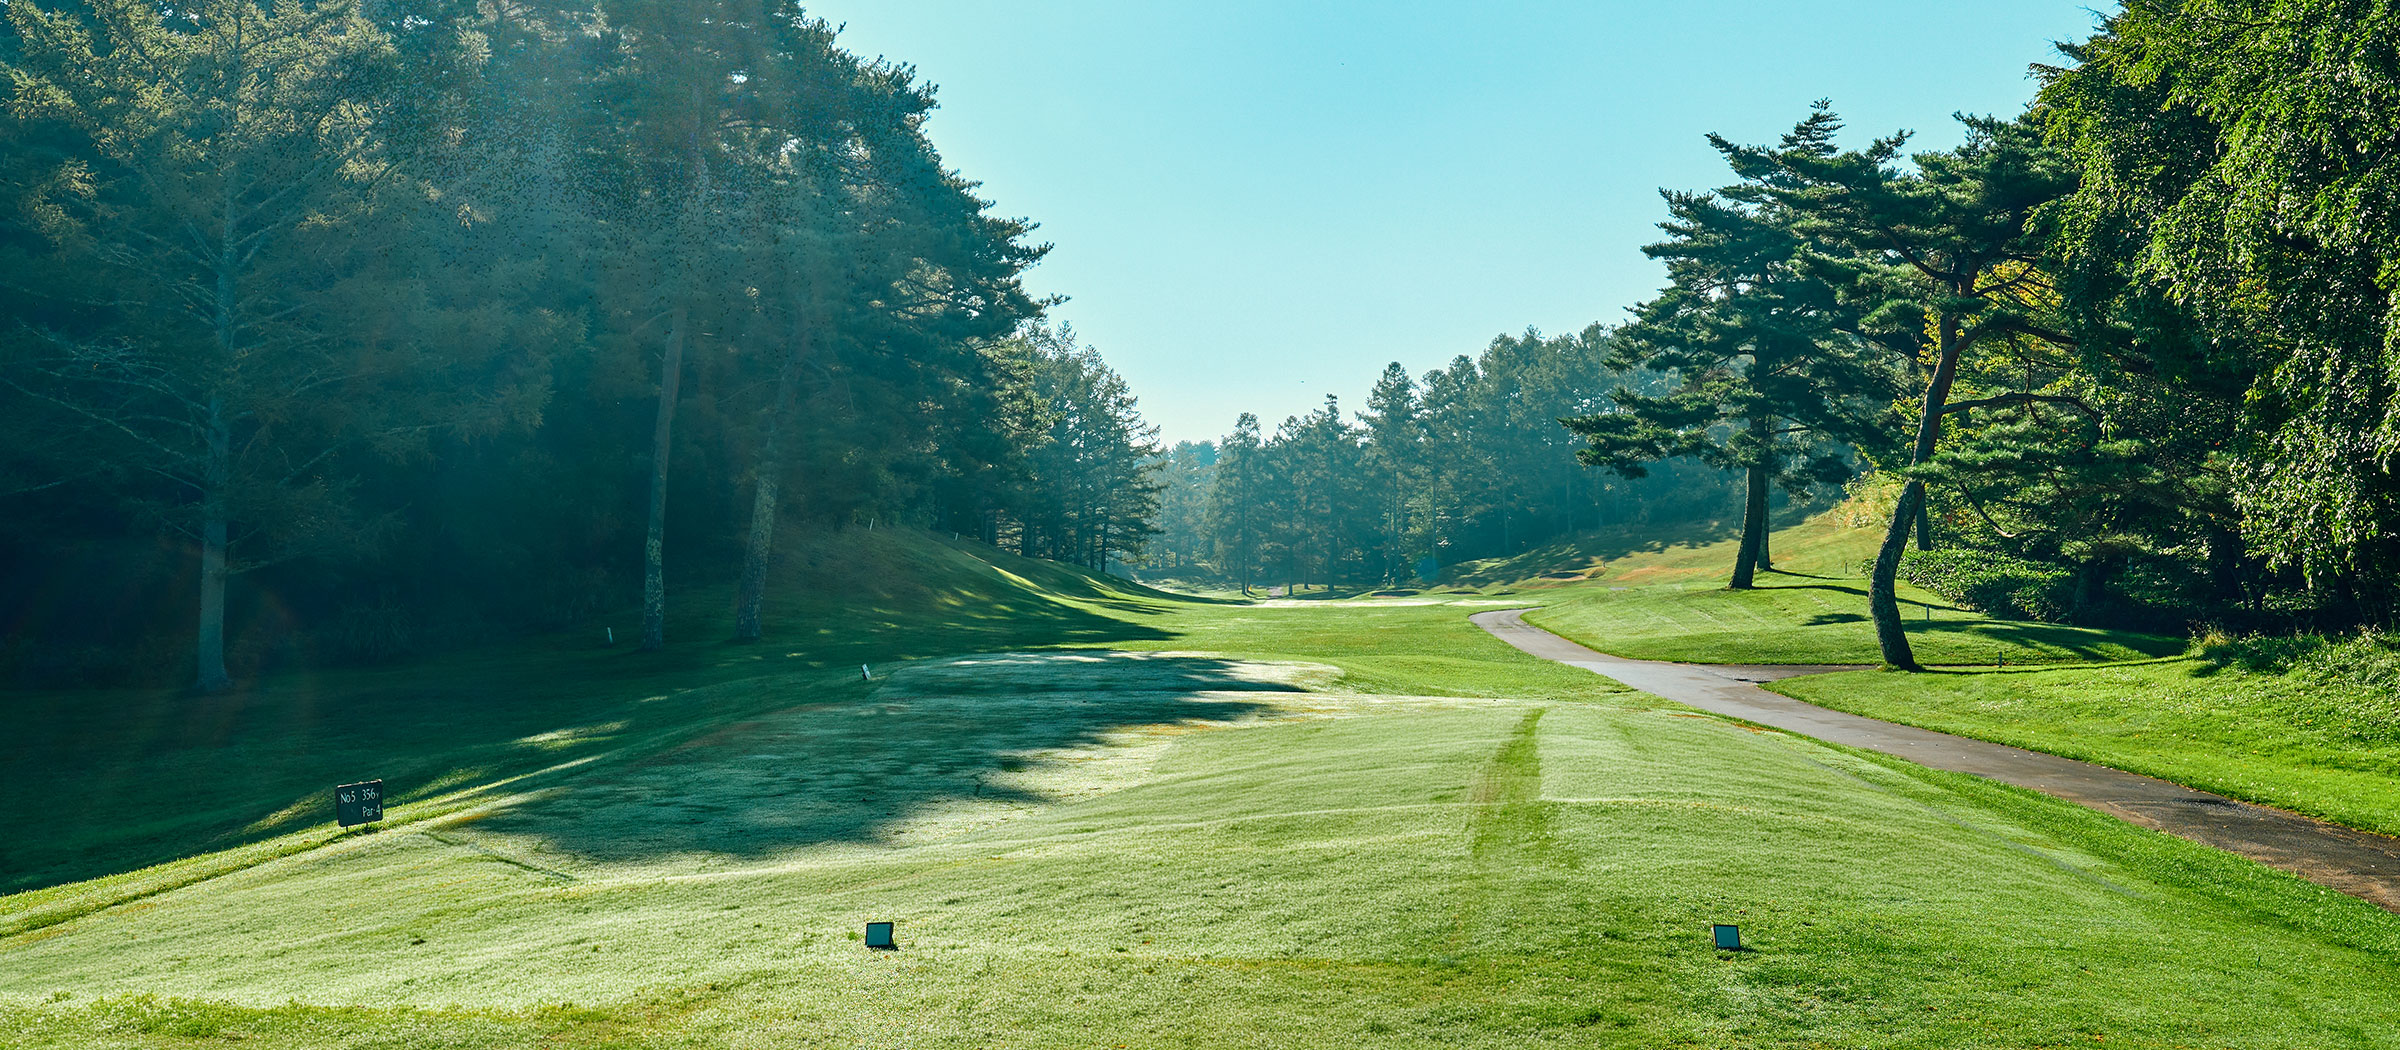
HOLE 5[ PAR 4 ]
A middle hole with left-side OB. Aim the tee shot toward the right bunker, and pay attention to distance on the slightly downhill second shot.
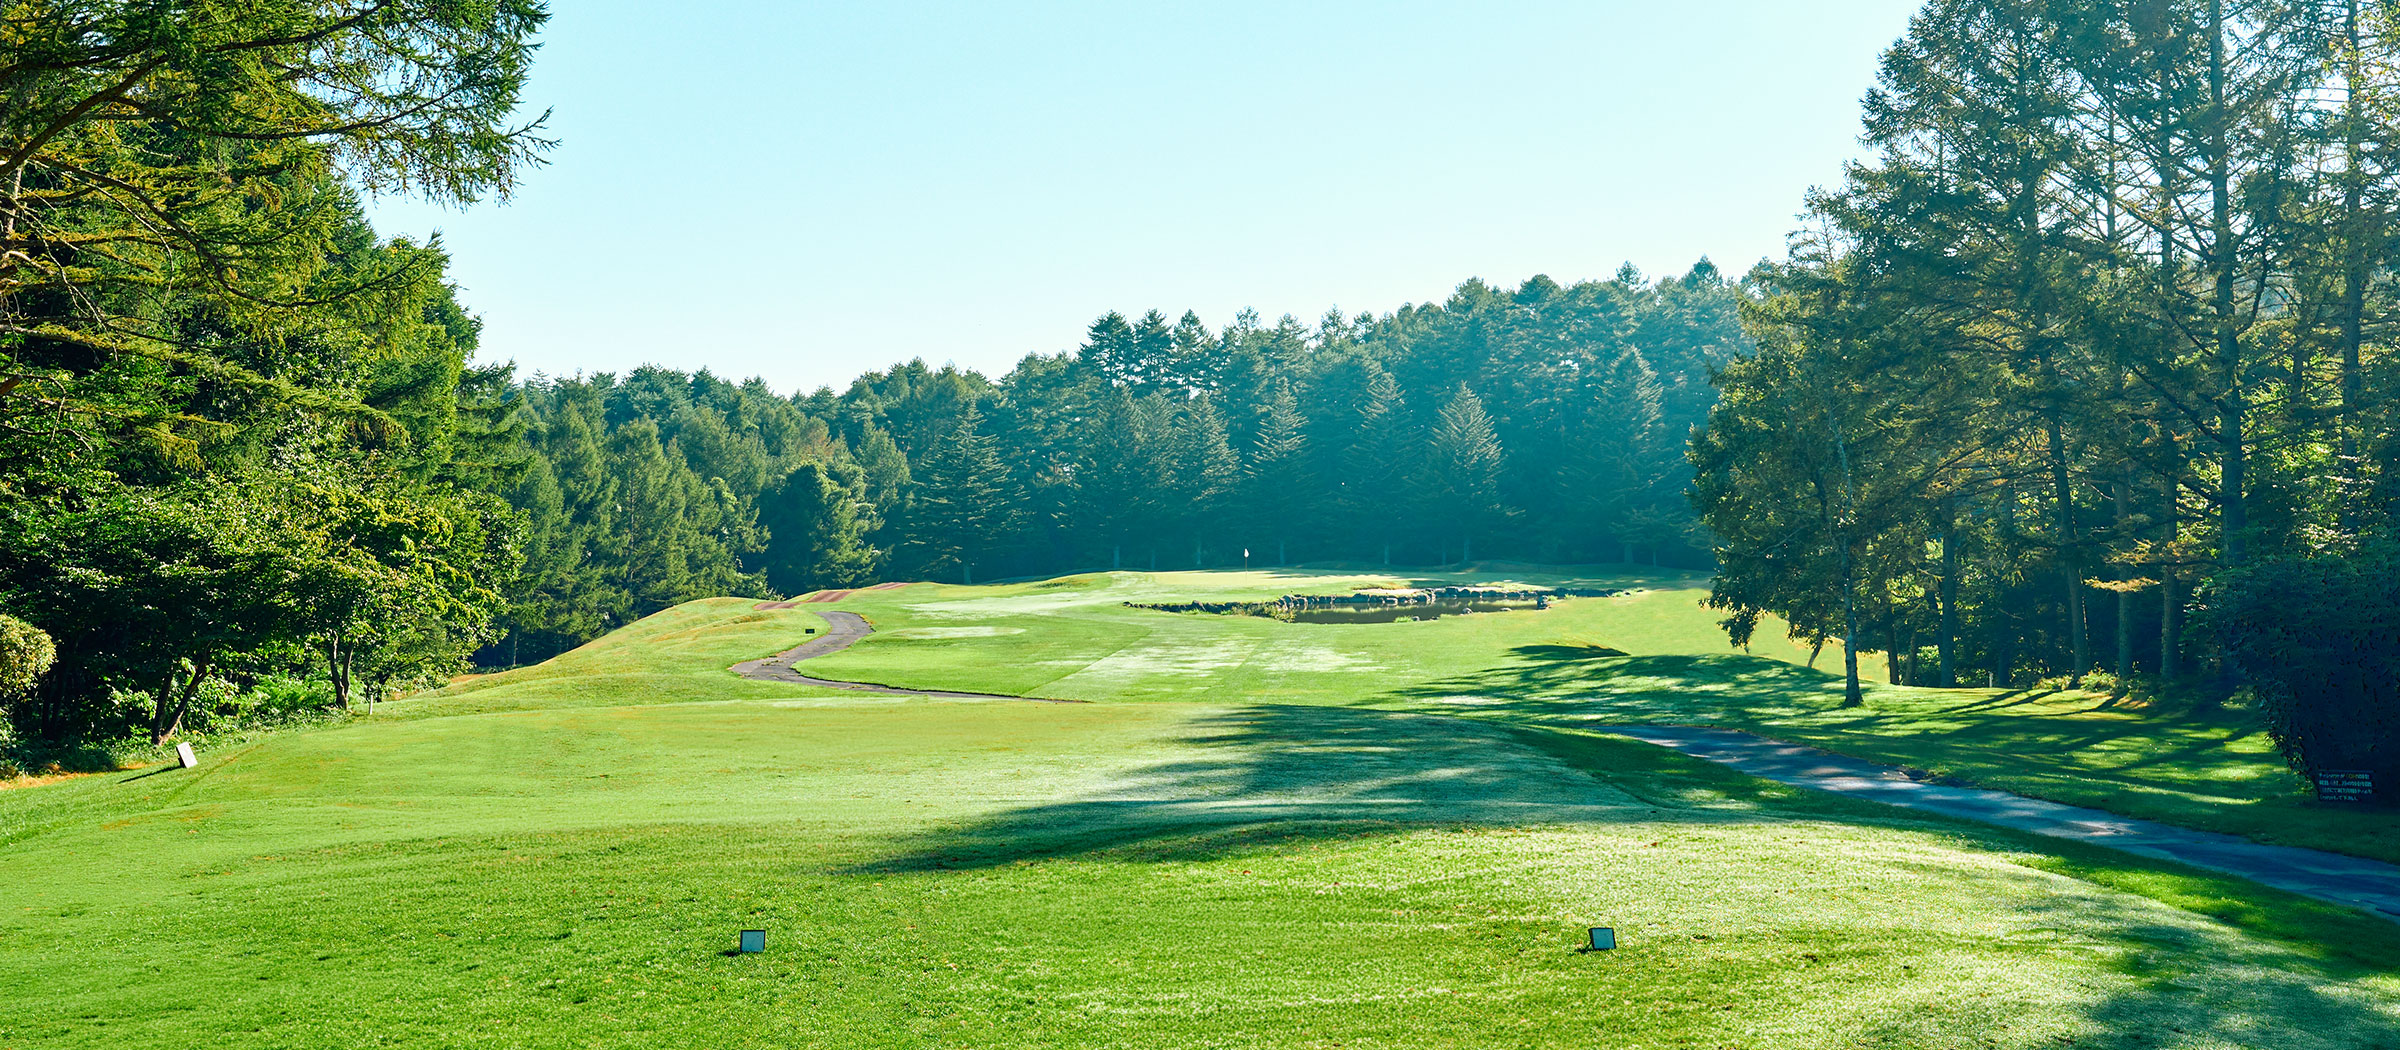
HOLE 6[ PAR 3 ]
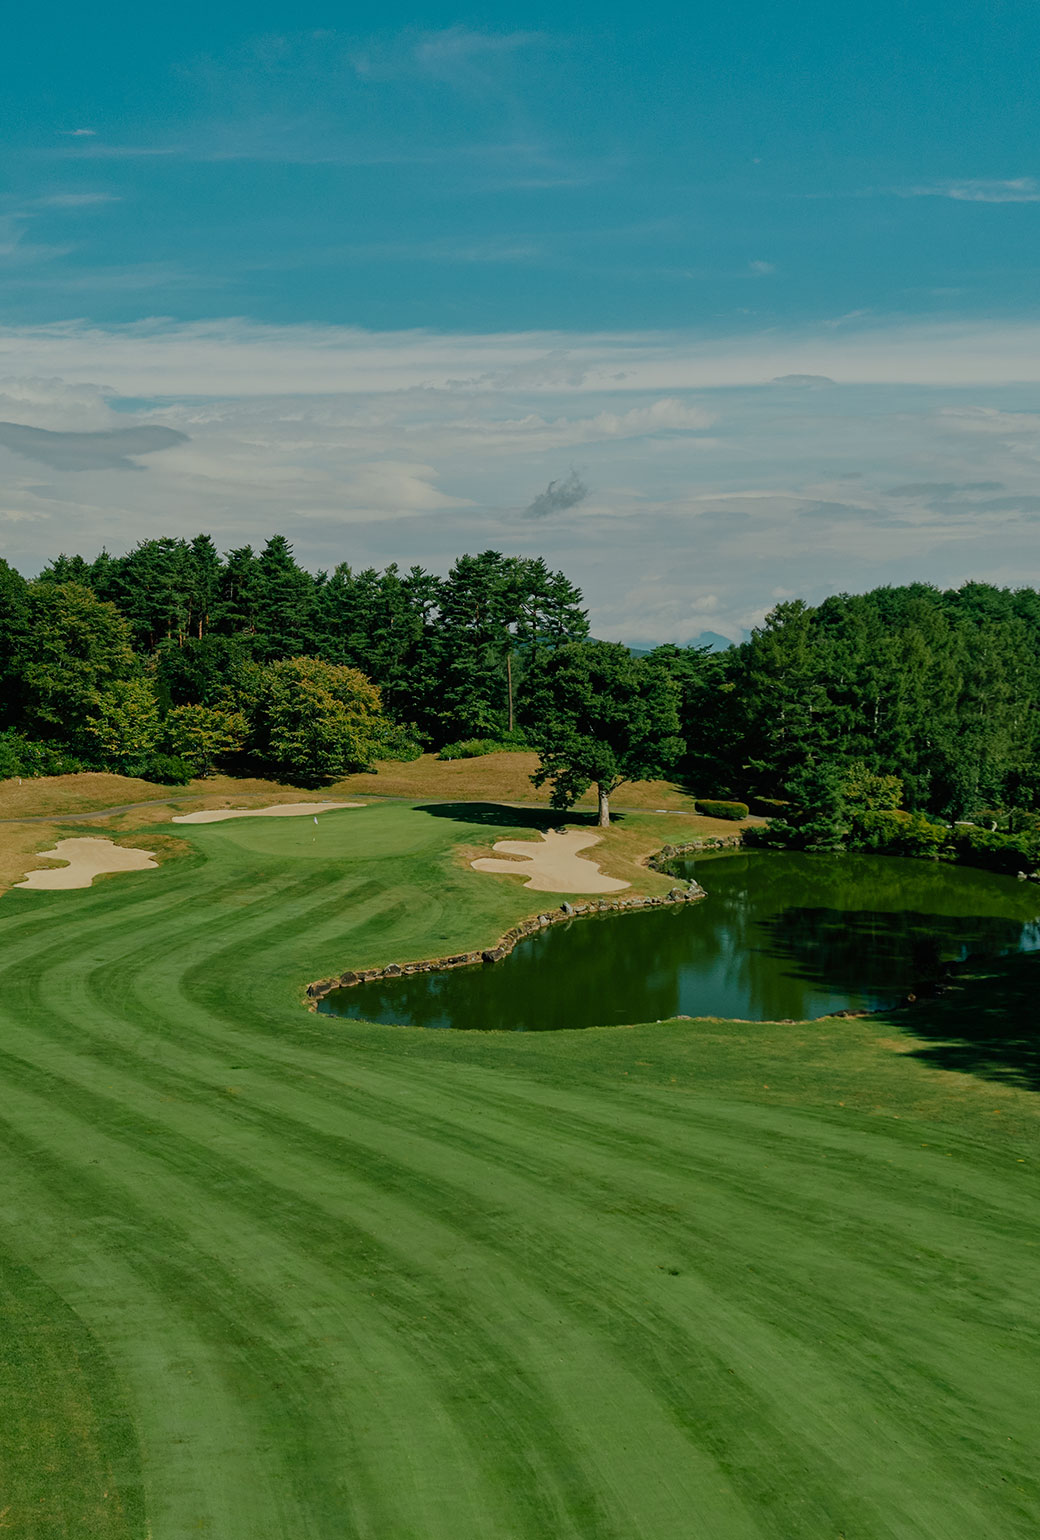
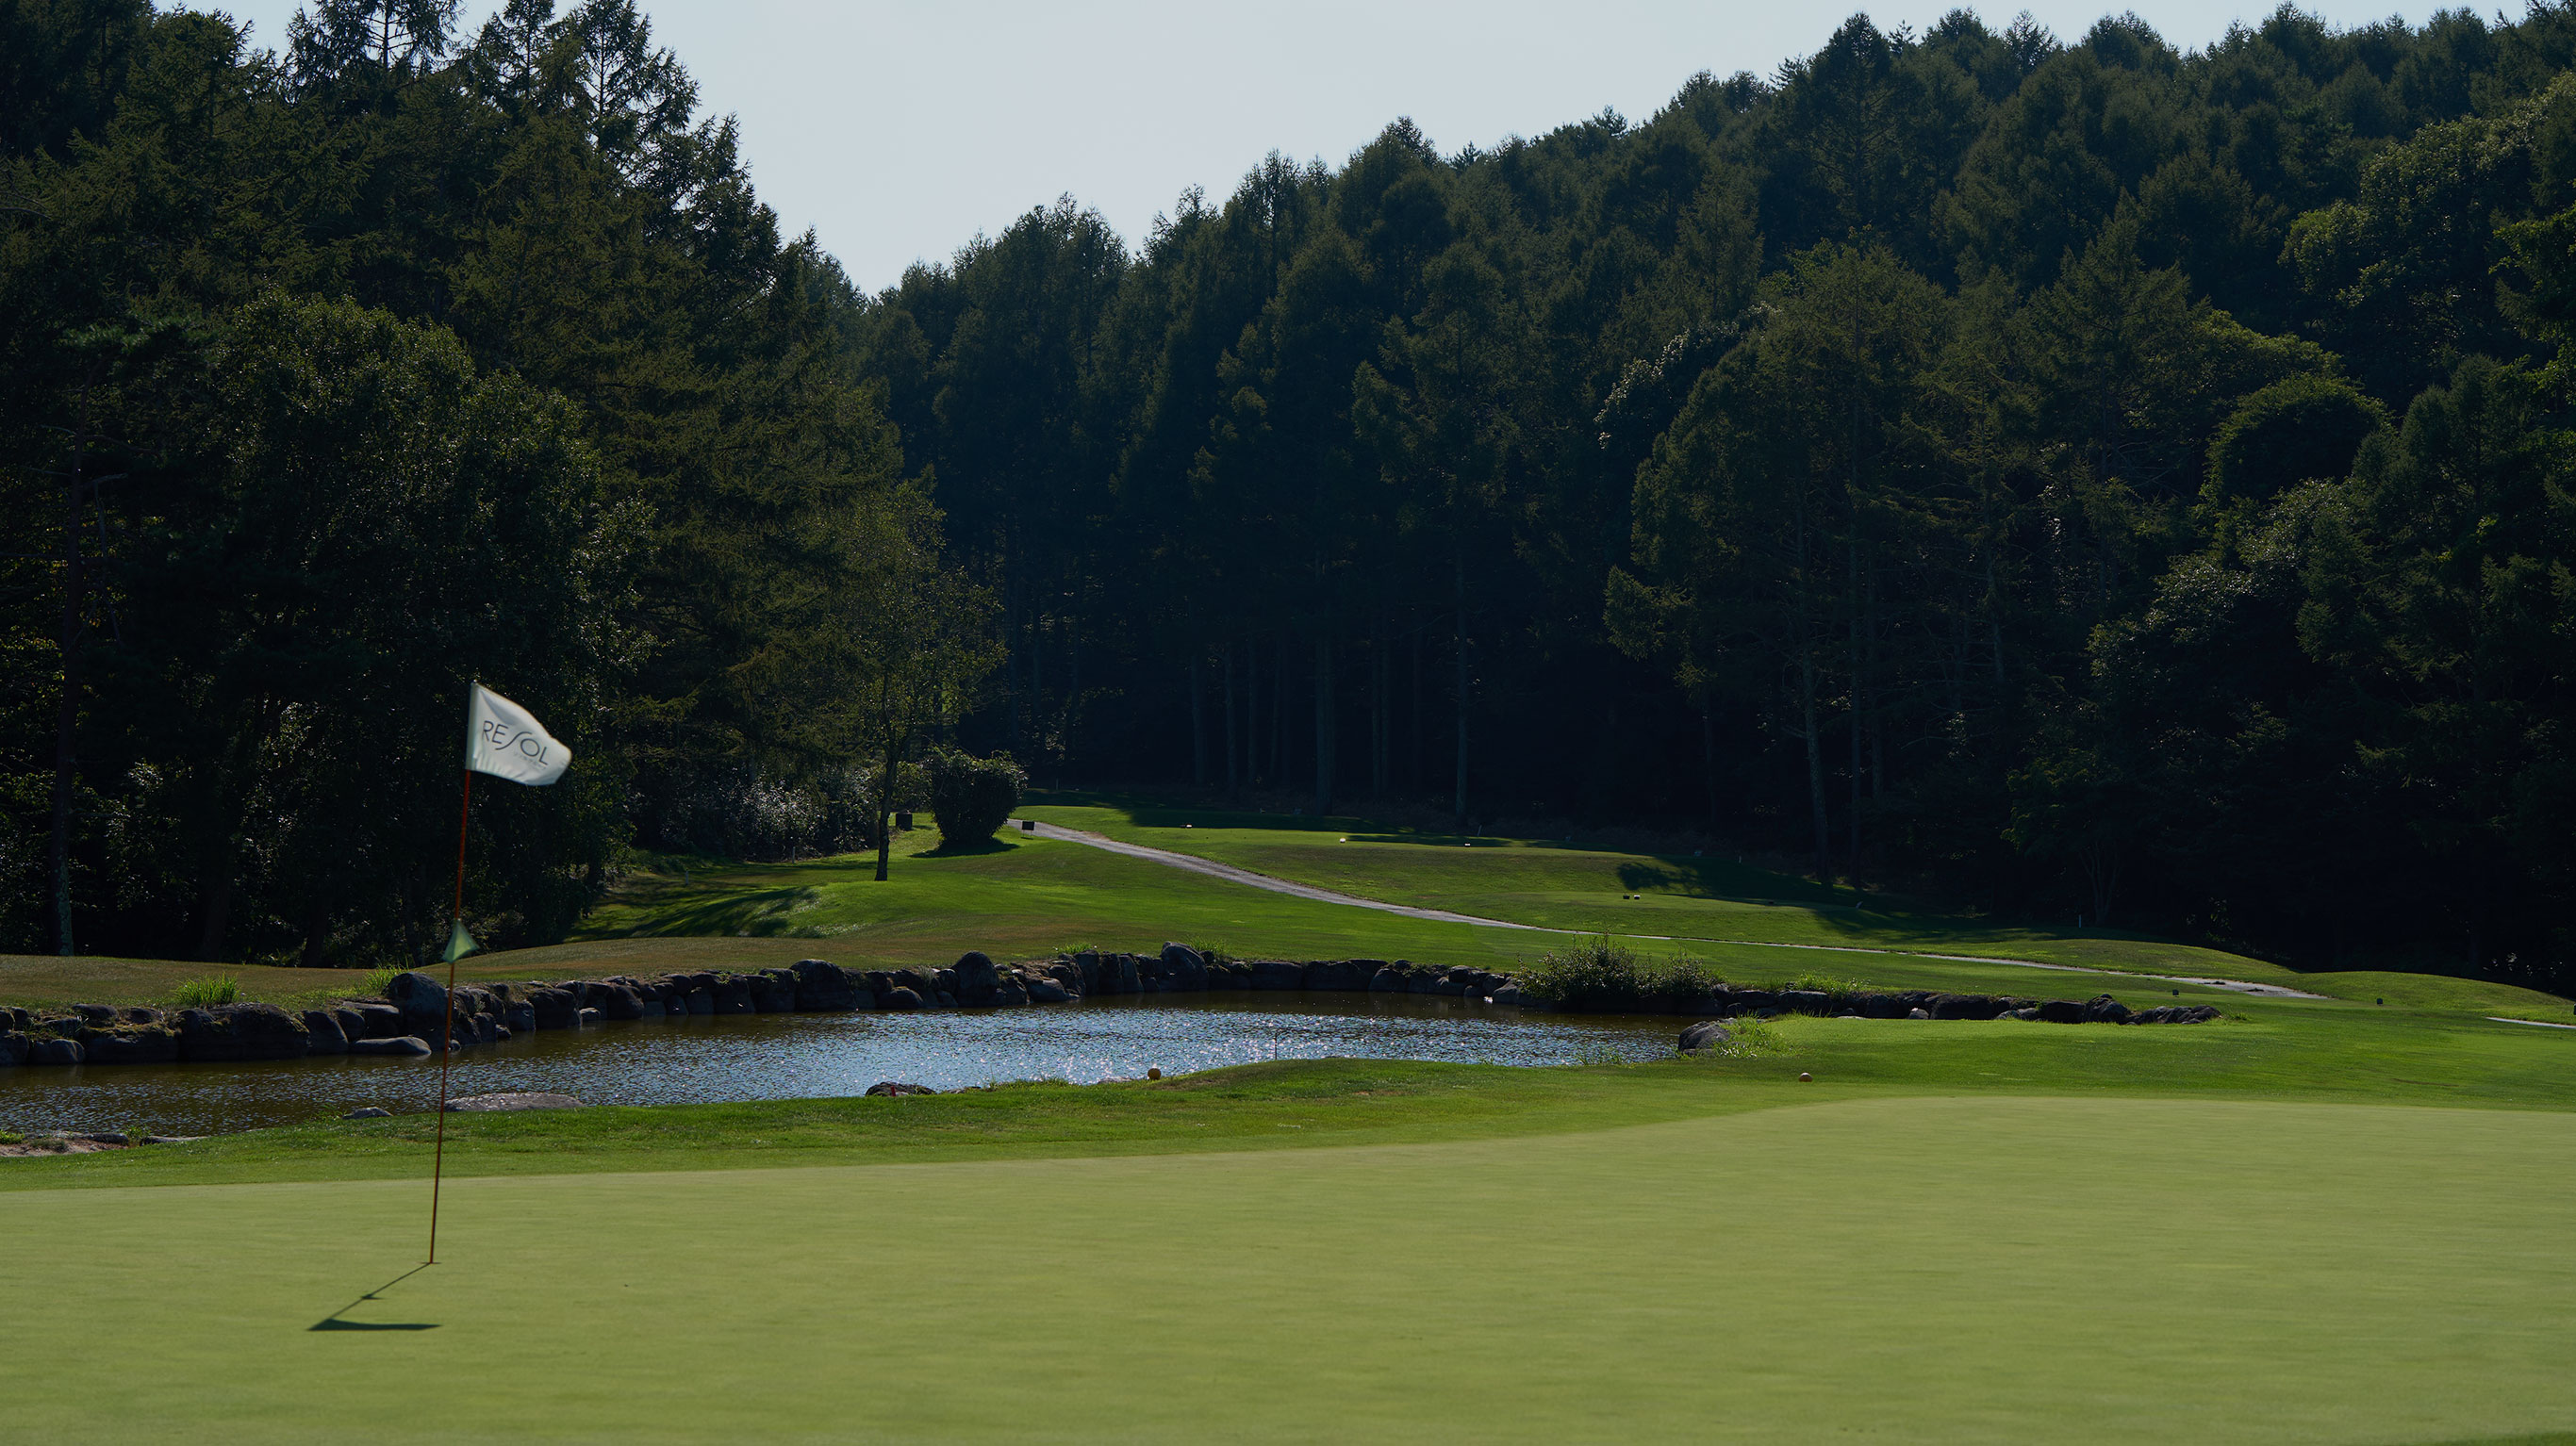
A signature short hole over the pond. Reading the wind and judging your distance carefully are key to scoring well.
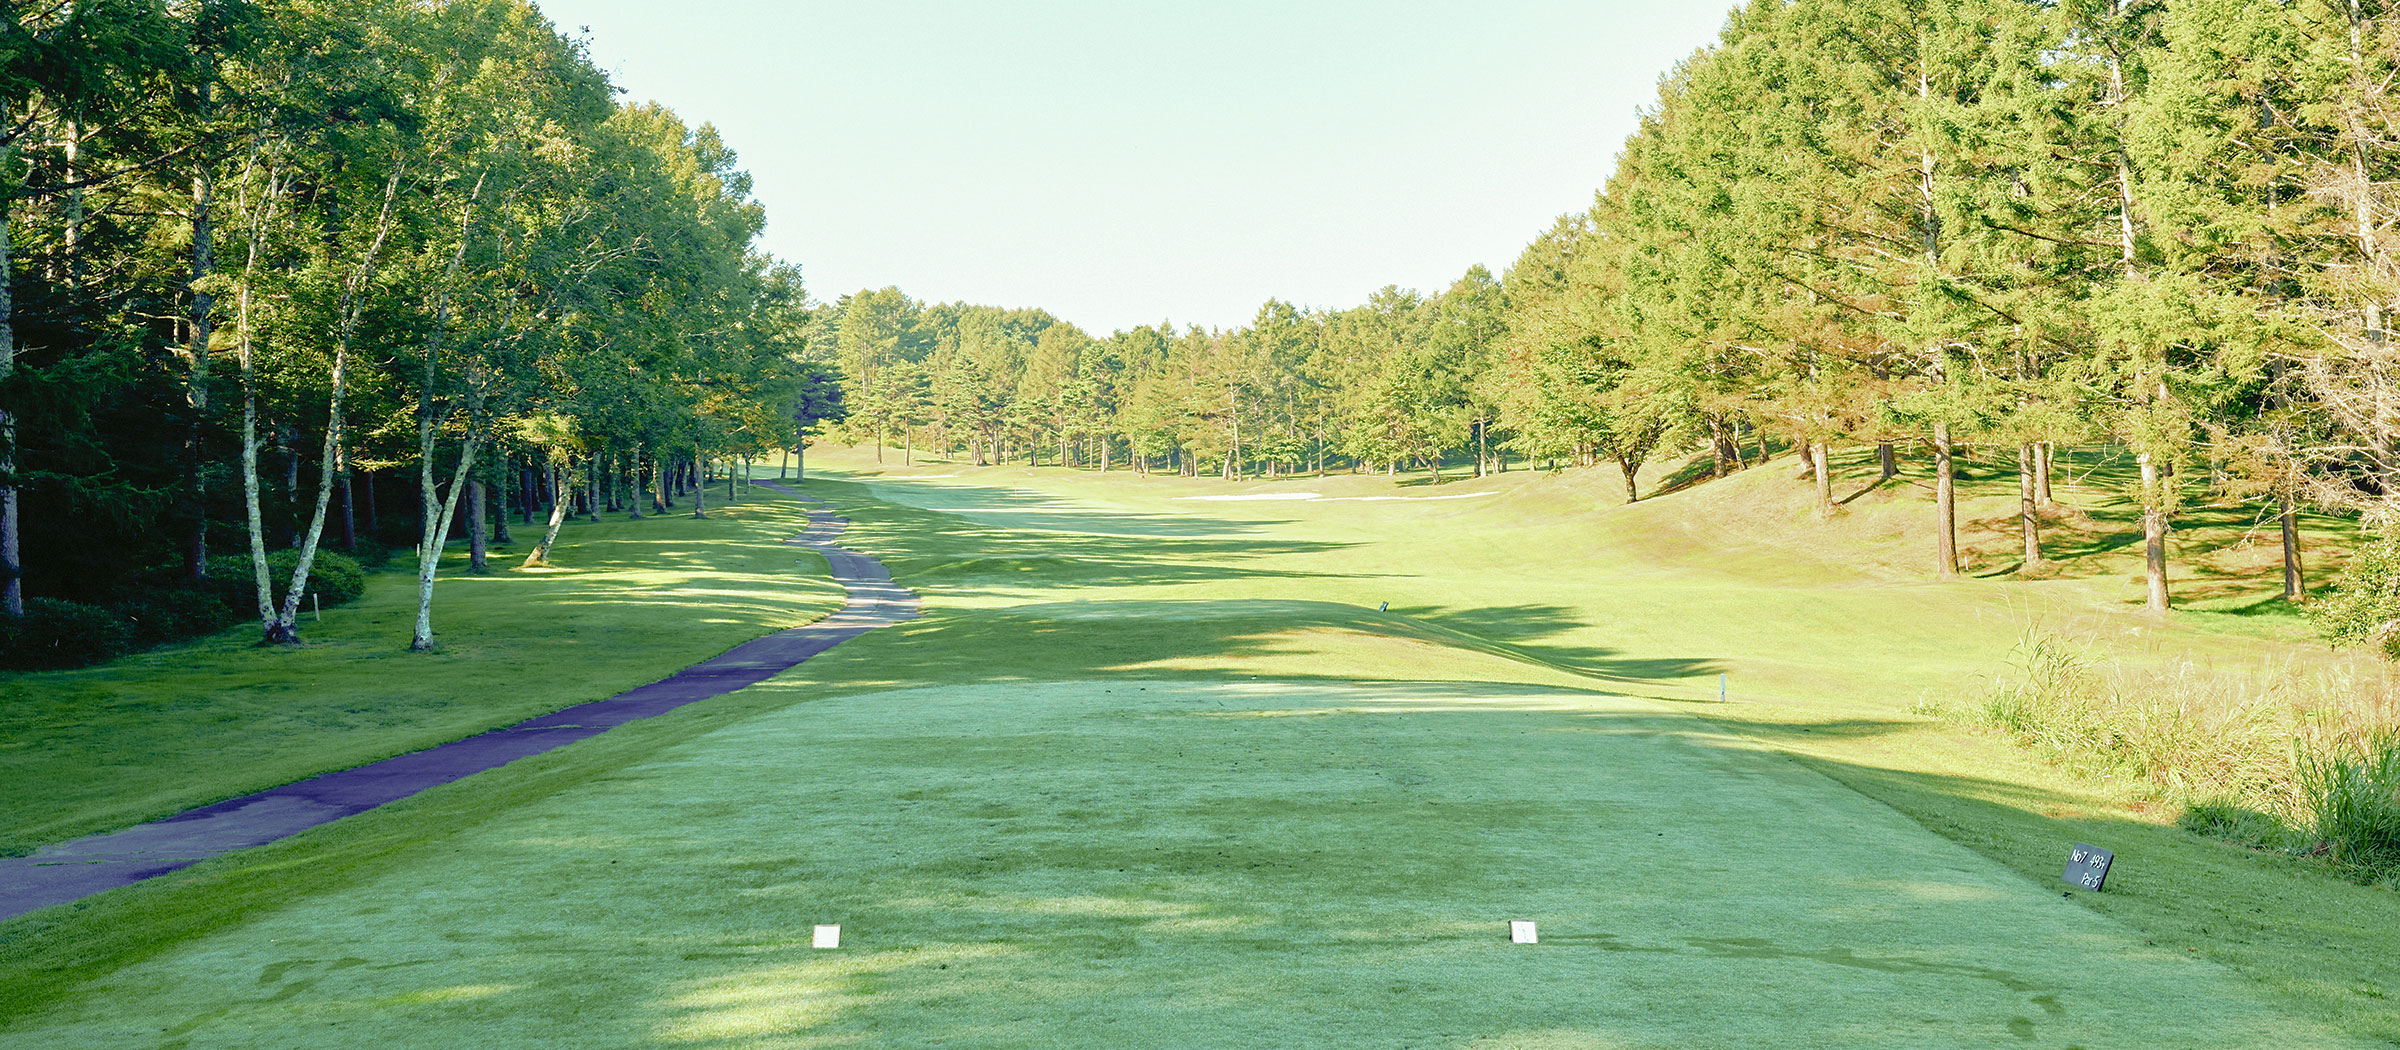
HOLE 7[ PAR 5 ]
A slightly uphill long hole. Aim your tee shot toward the right bunker, then favor the left on your second shot. Positioning on the three-tiered green is crucial.
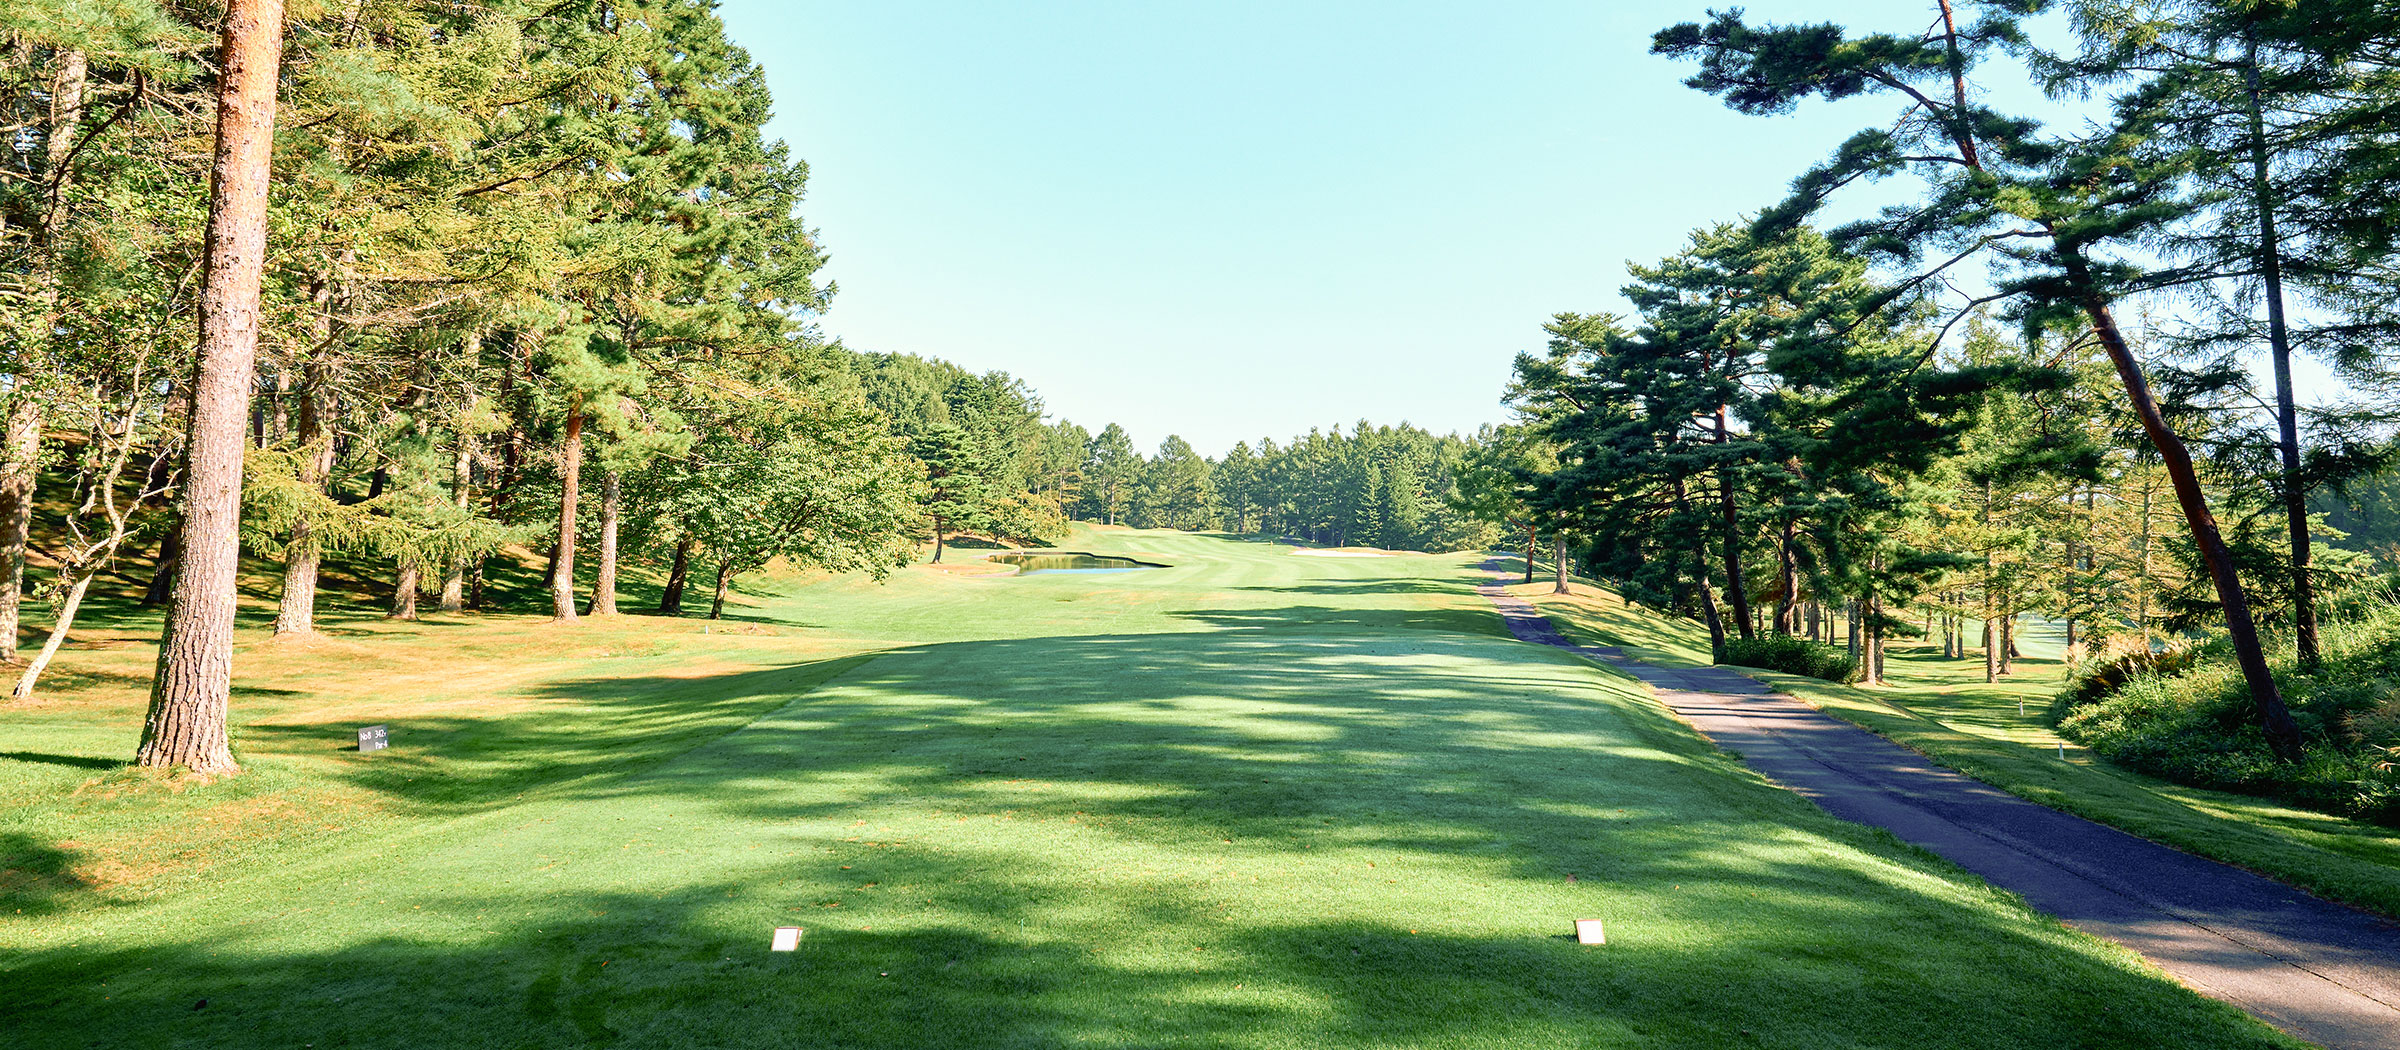
HOLE 8[ PAR 4 ]
A middle hole featuring a pond and a one-stroke penalty area. Keep your tee shot on the fairway, and play your second shot cautiously to stay safe.
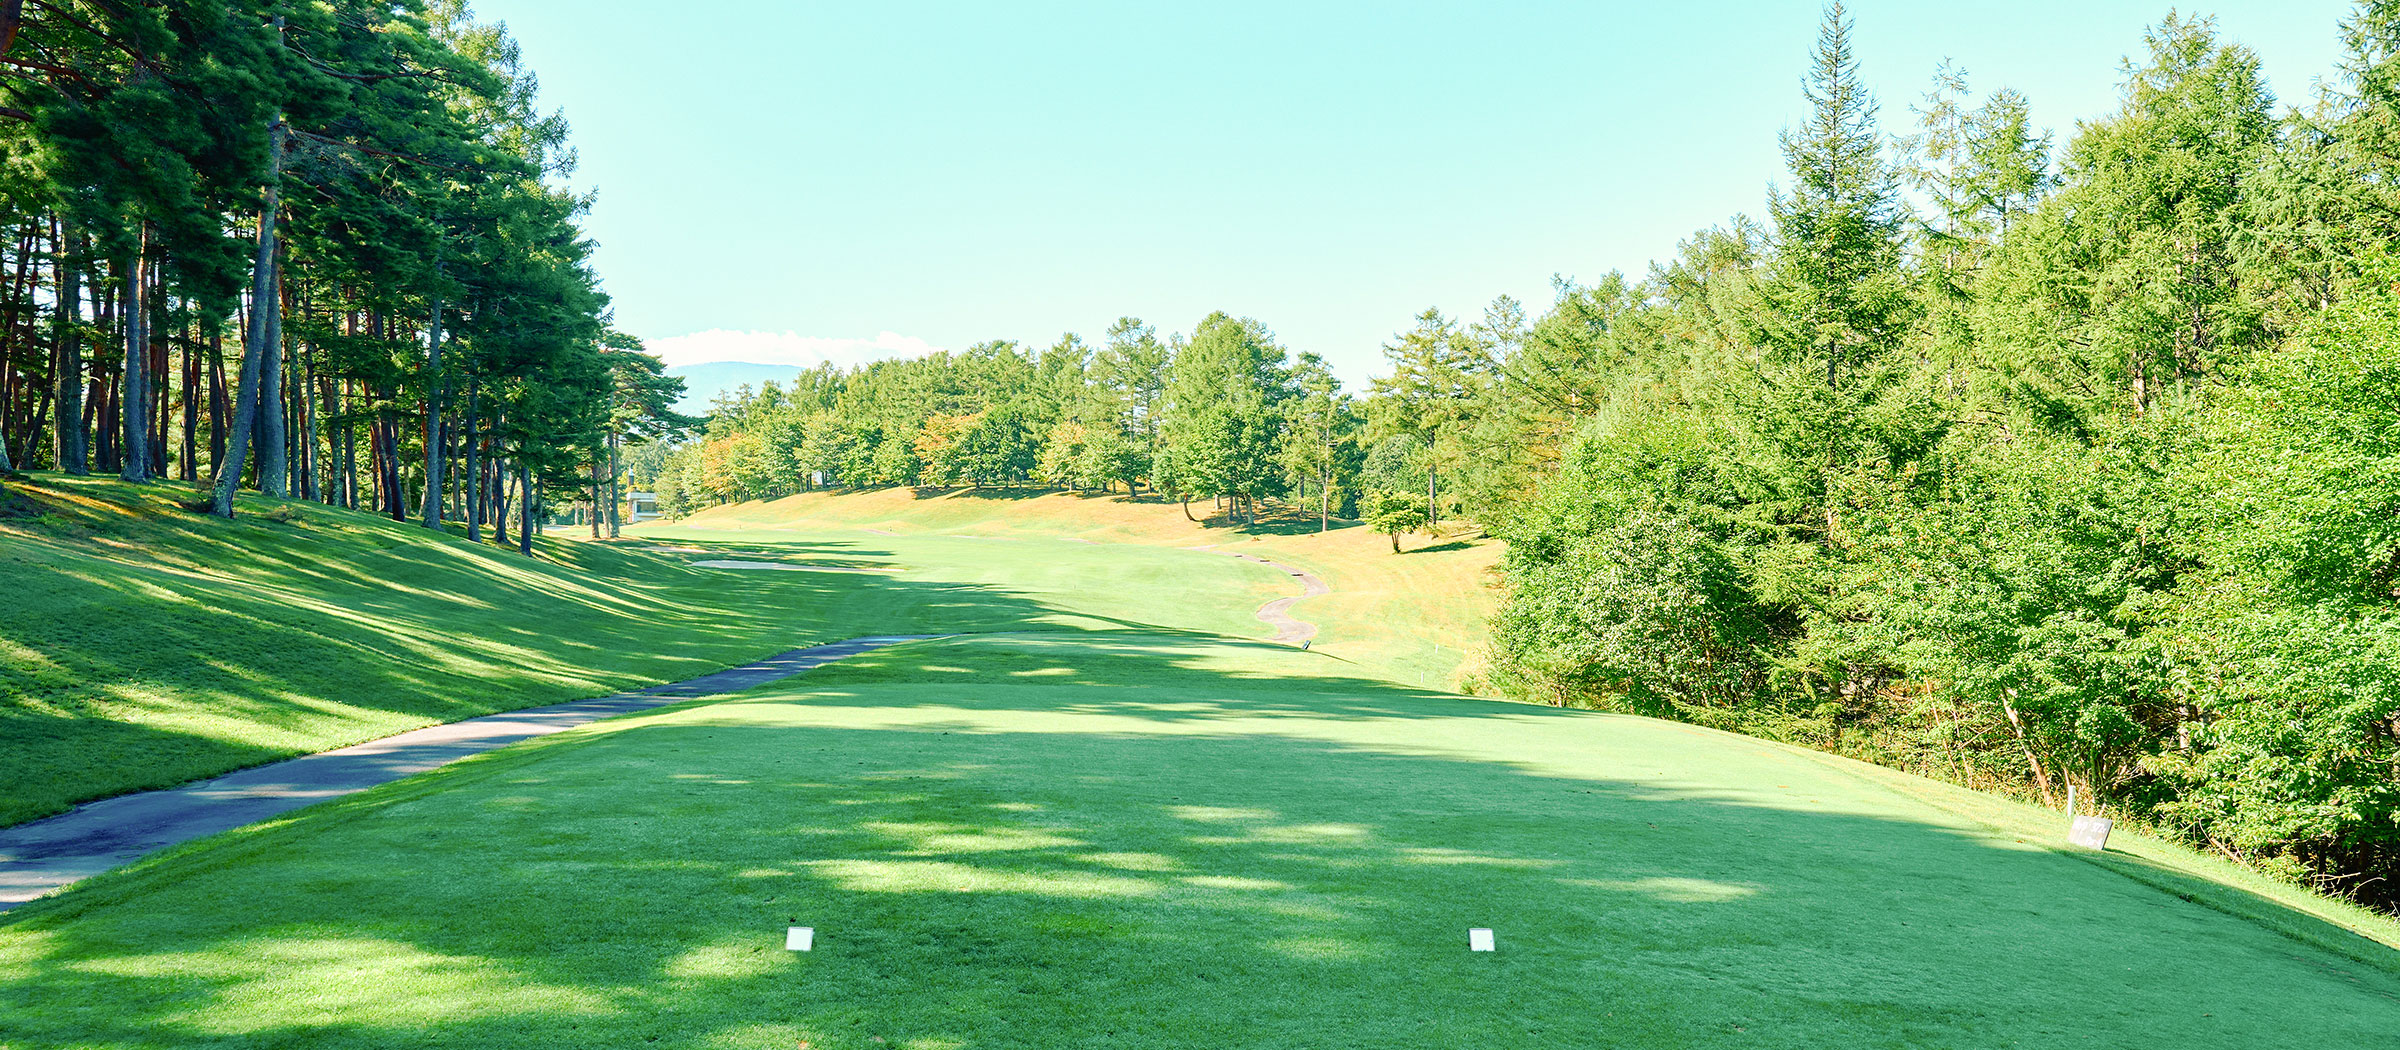
HOLE 9[ PAR 4 ]
A slightly uphill long middle hole. Aim your tee shot over the left bunker, and play your second shot carefully to avoid the back bunker.
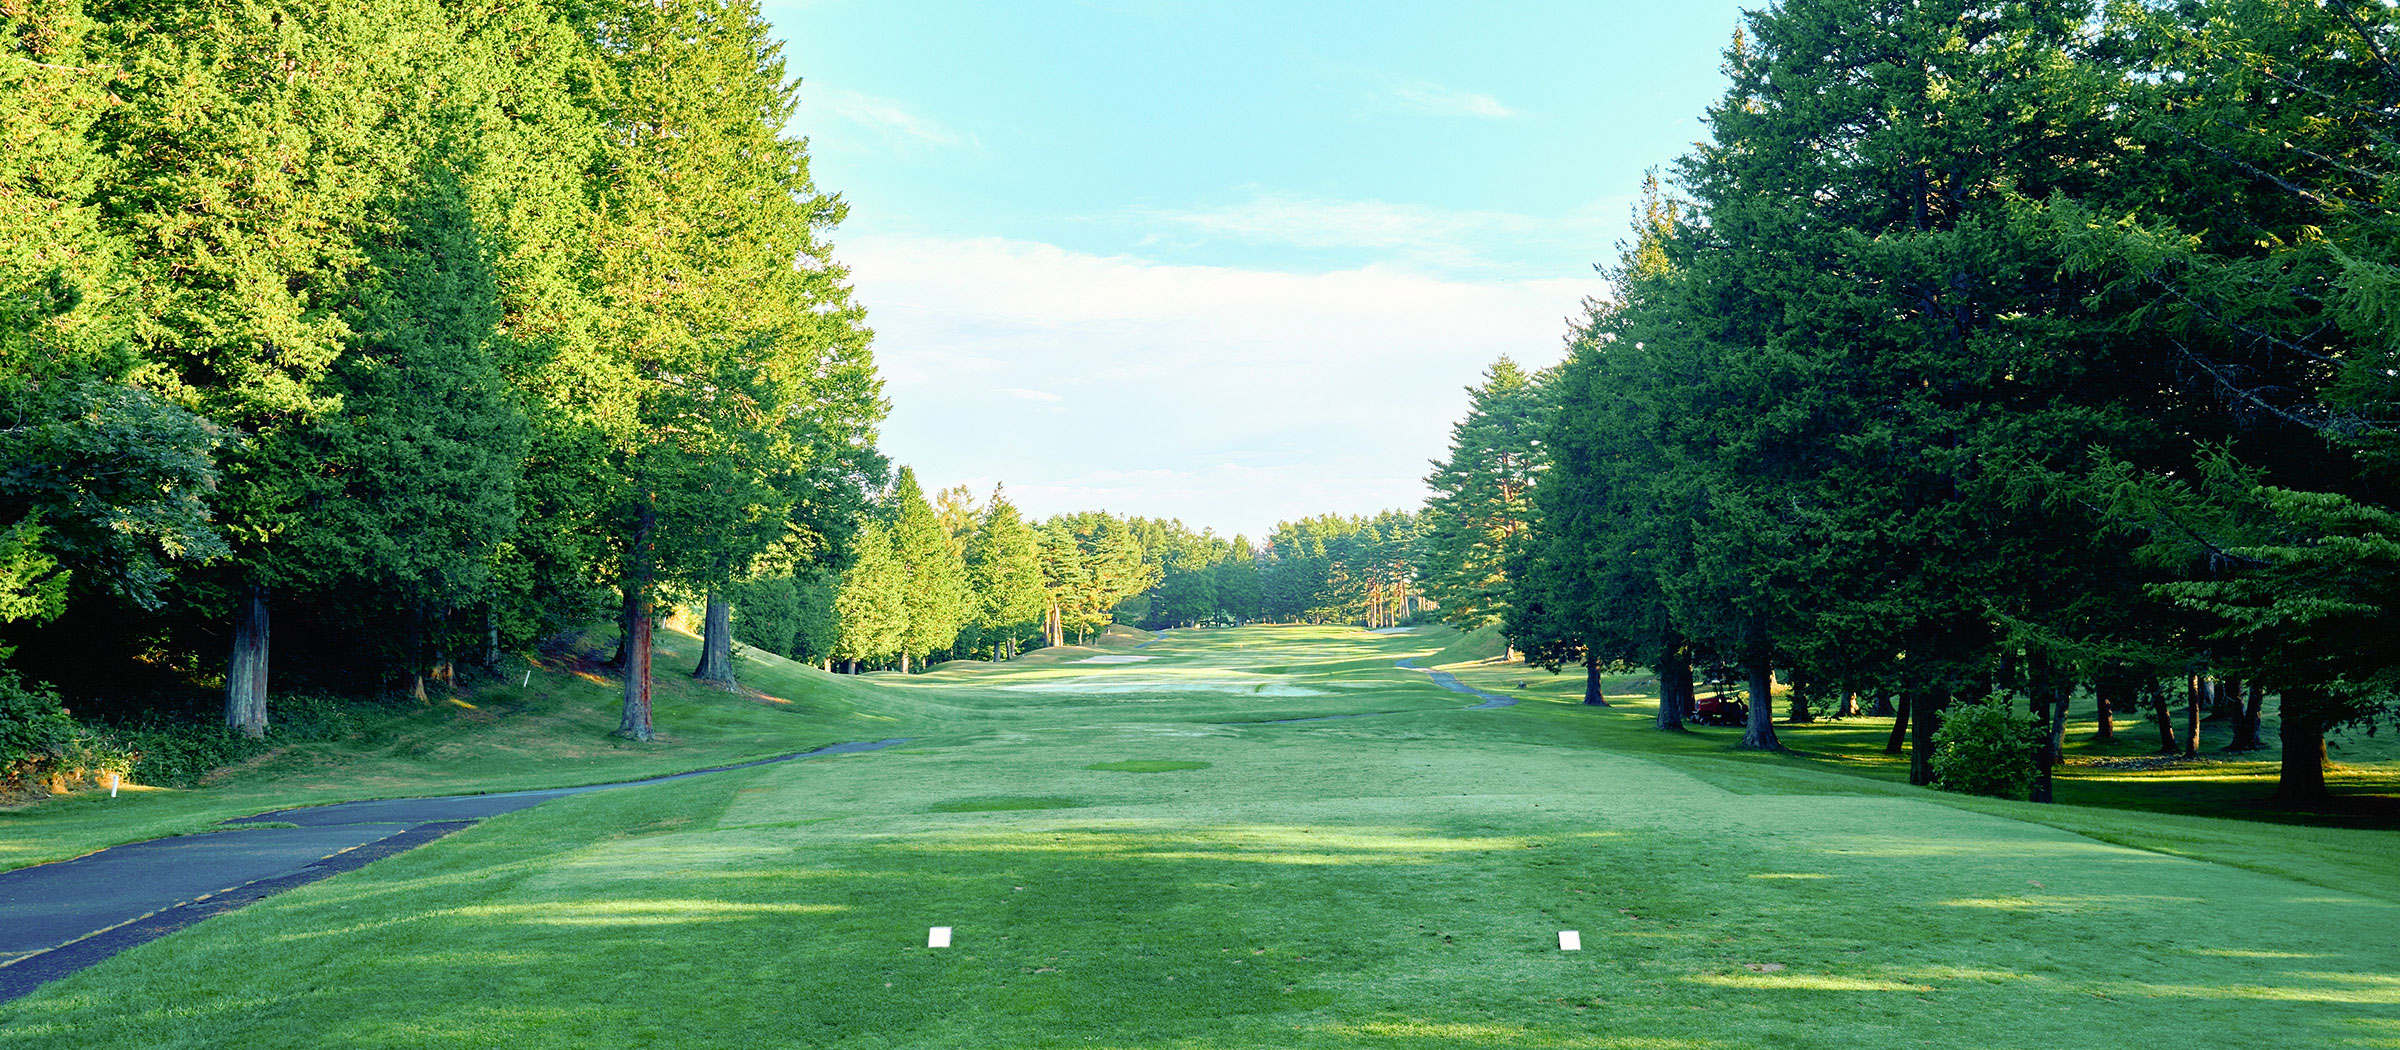
HOLE 10[ PAR 4 ]
A gently downhill middle hole. Aim your tee shot to the right, and on your second shot, control the distance carefully to avoid overshooting the green.
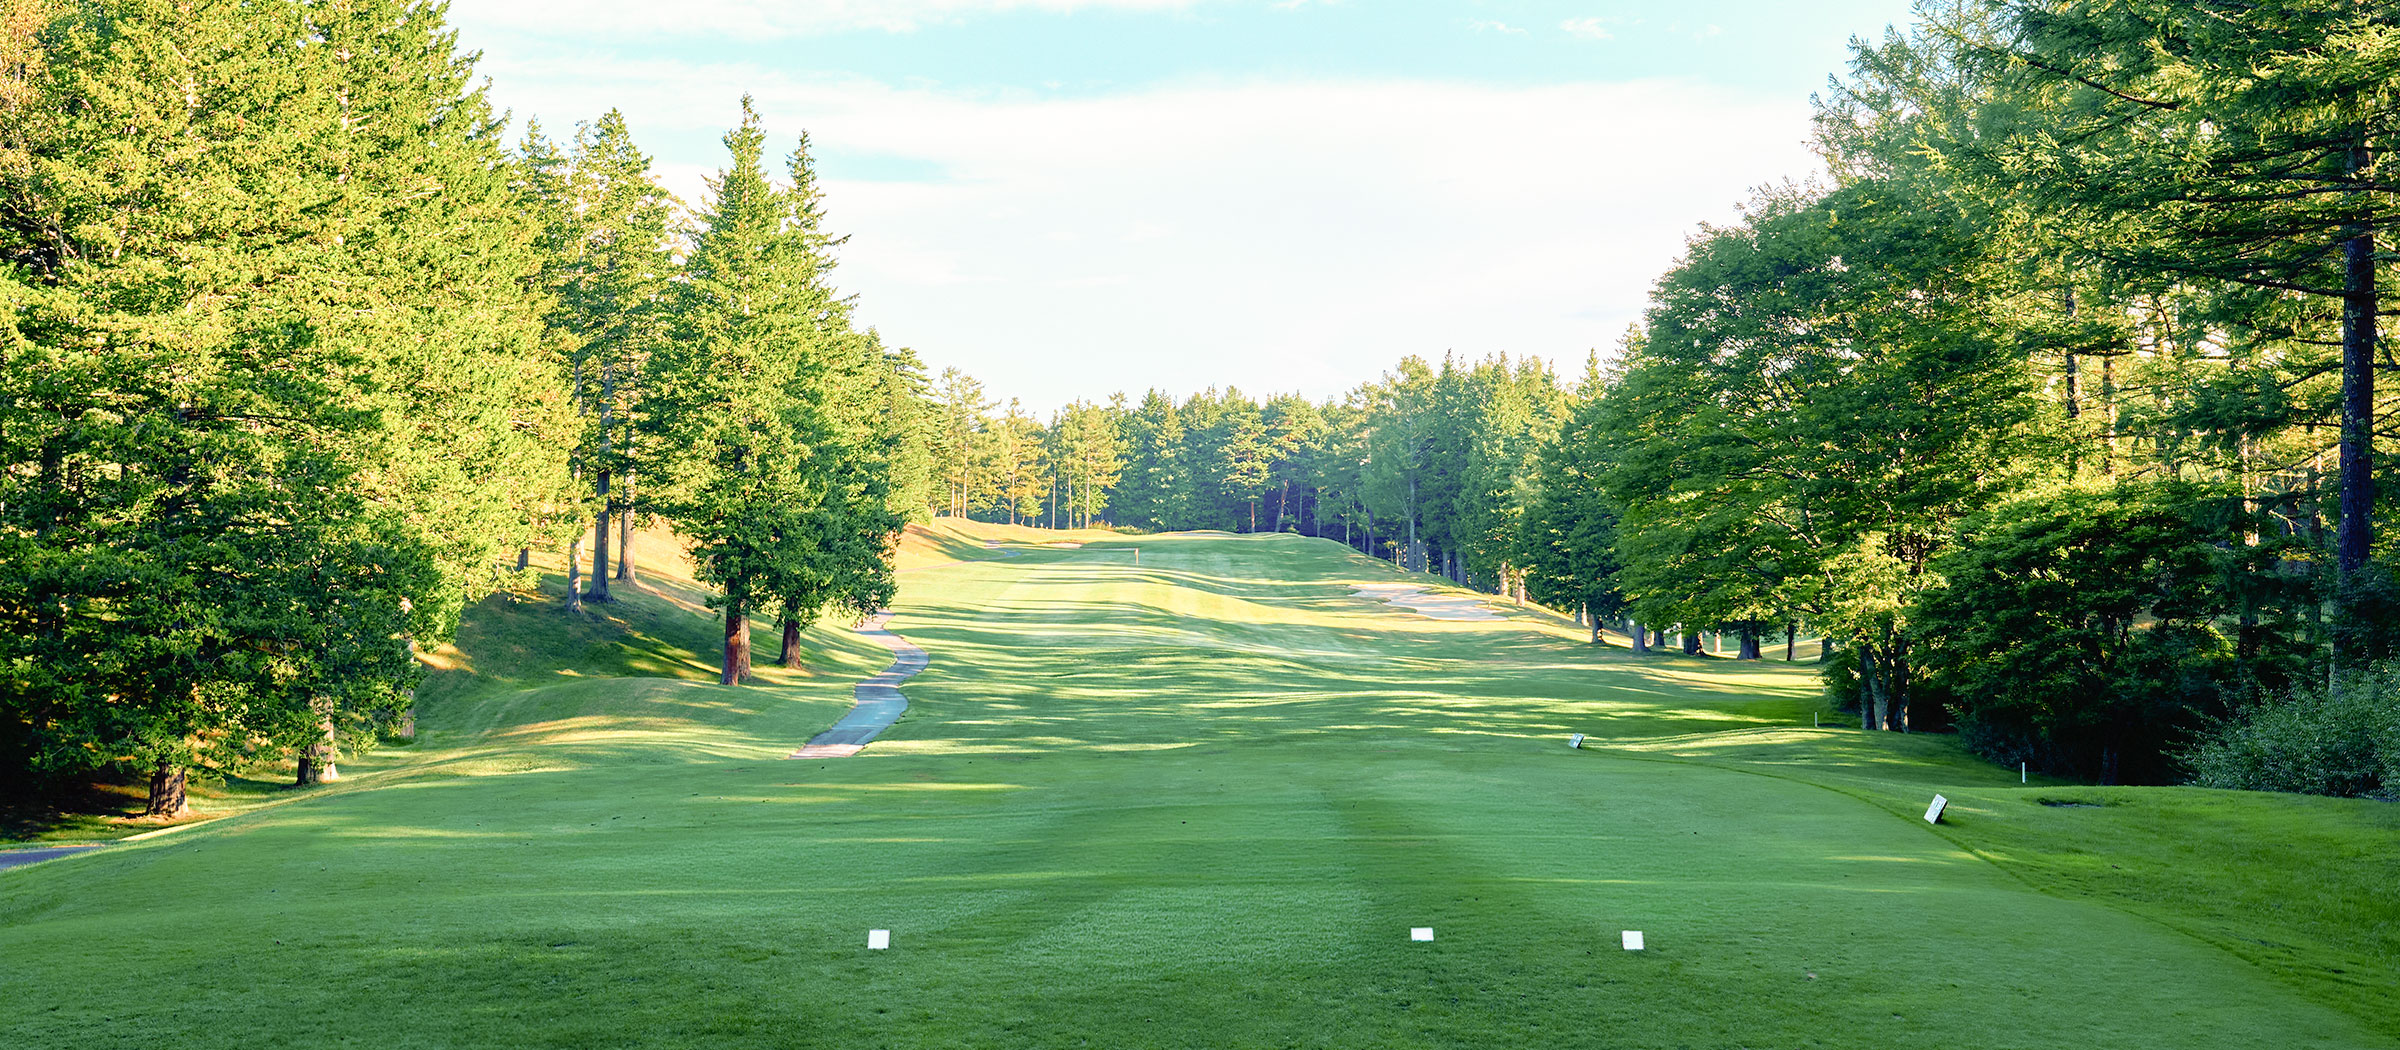
HOLE 11[ PAR 4 ]
A straight middle hole. Aim your tee shot to the left, and on your second shot, avoid the trees on the right and approach from the fairway for a safe attack.
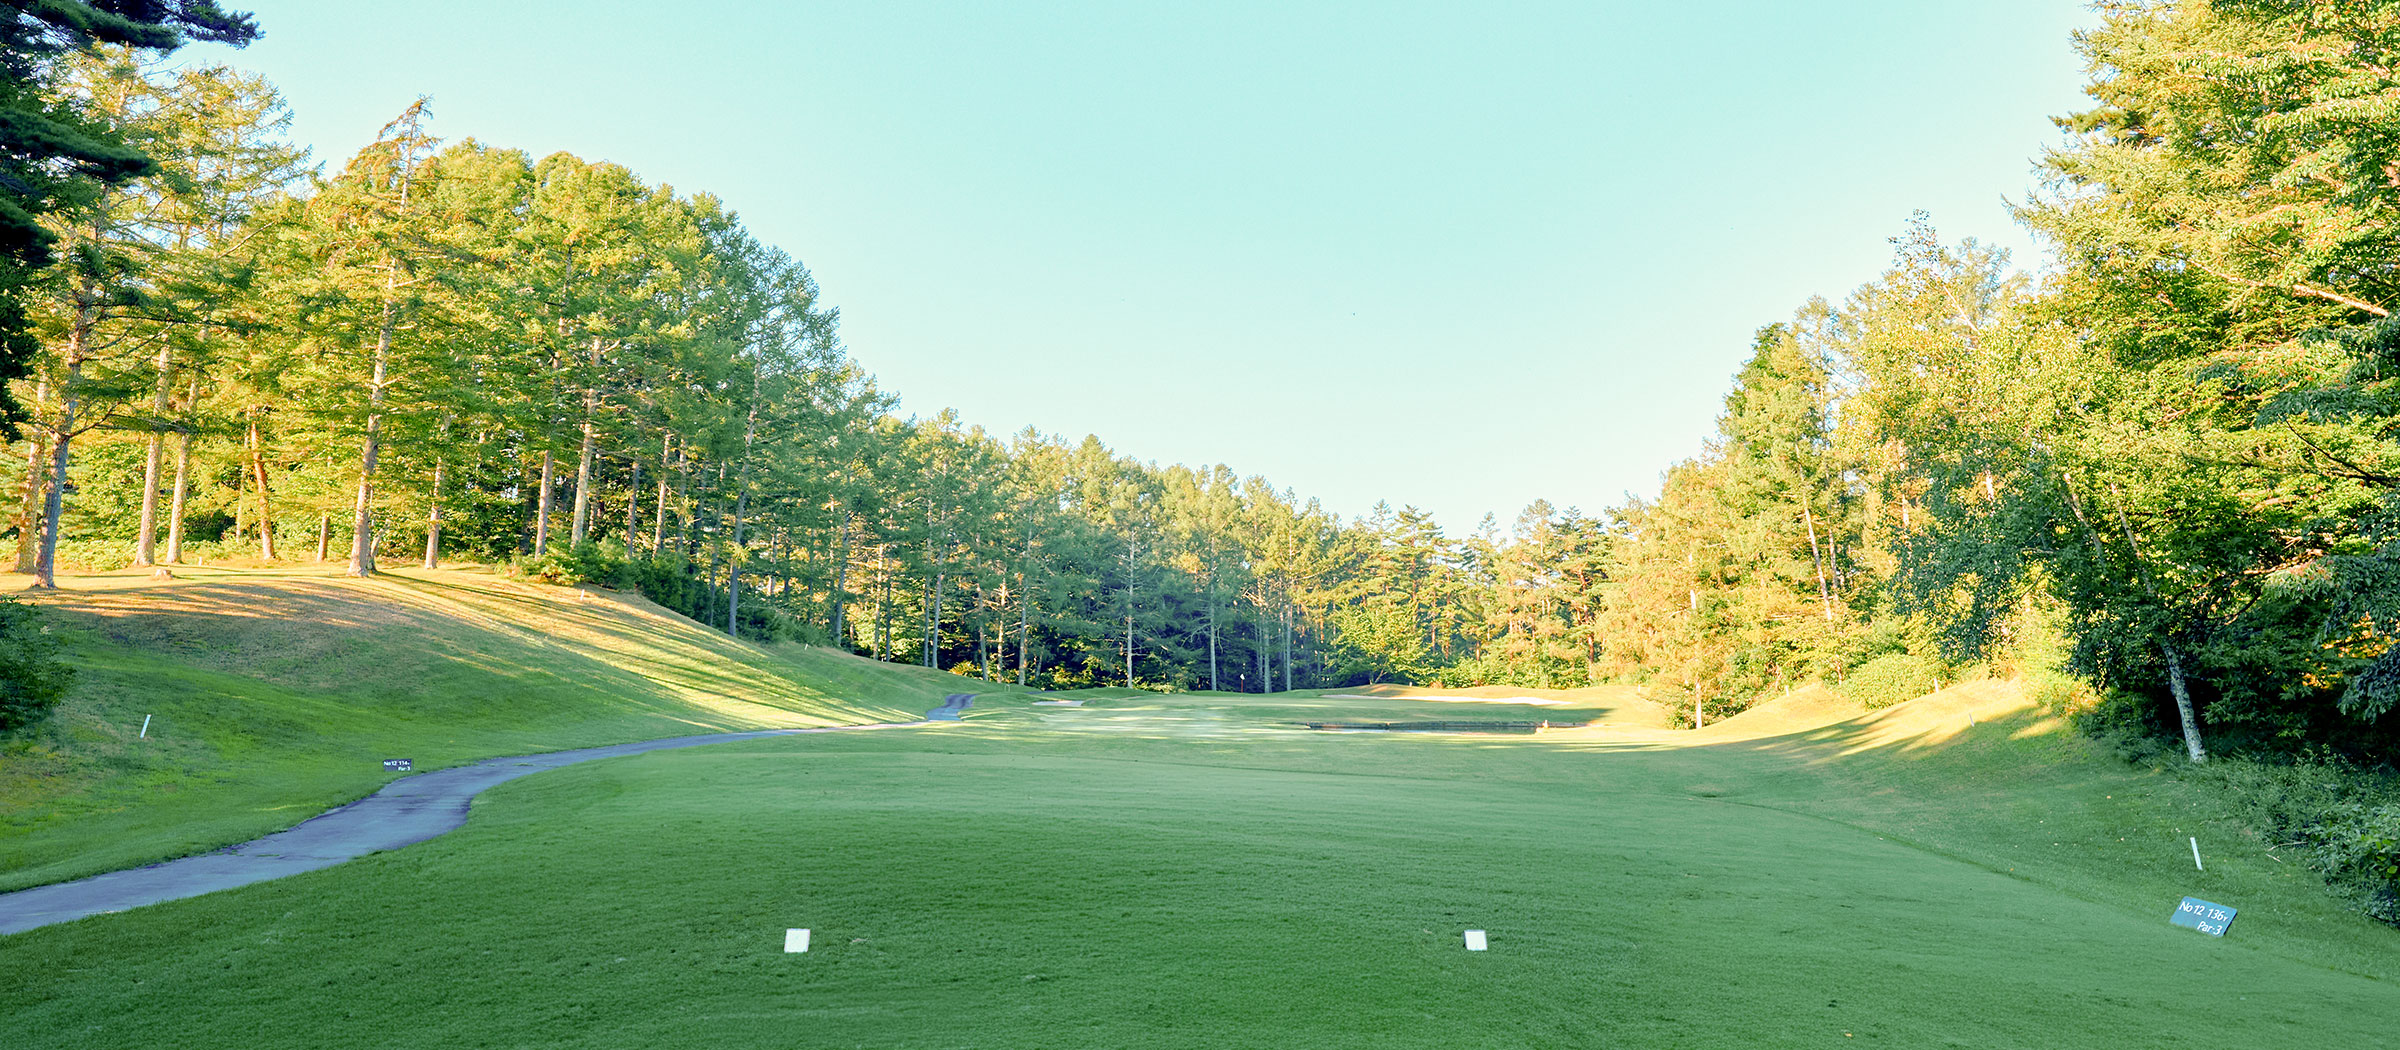
HOLE 12[ PAR 3 ]
A flat, water-carry short hole. Avoid the left bunker and the back out-of-bounds, and choose your club carefully for a successful shot.
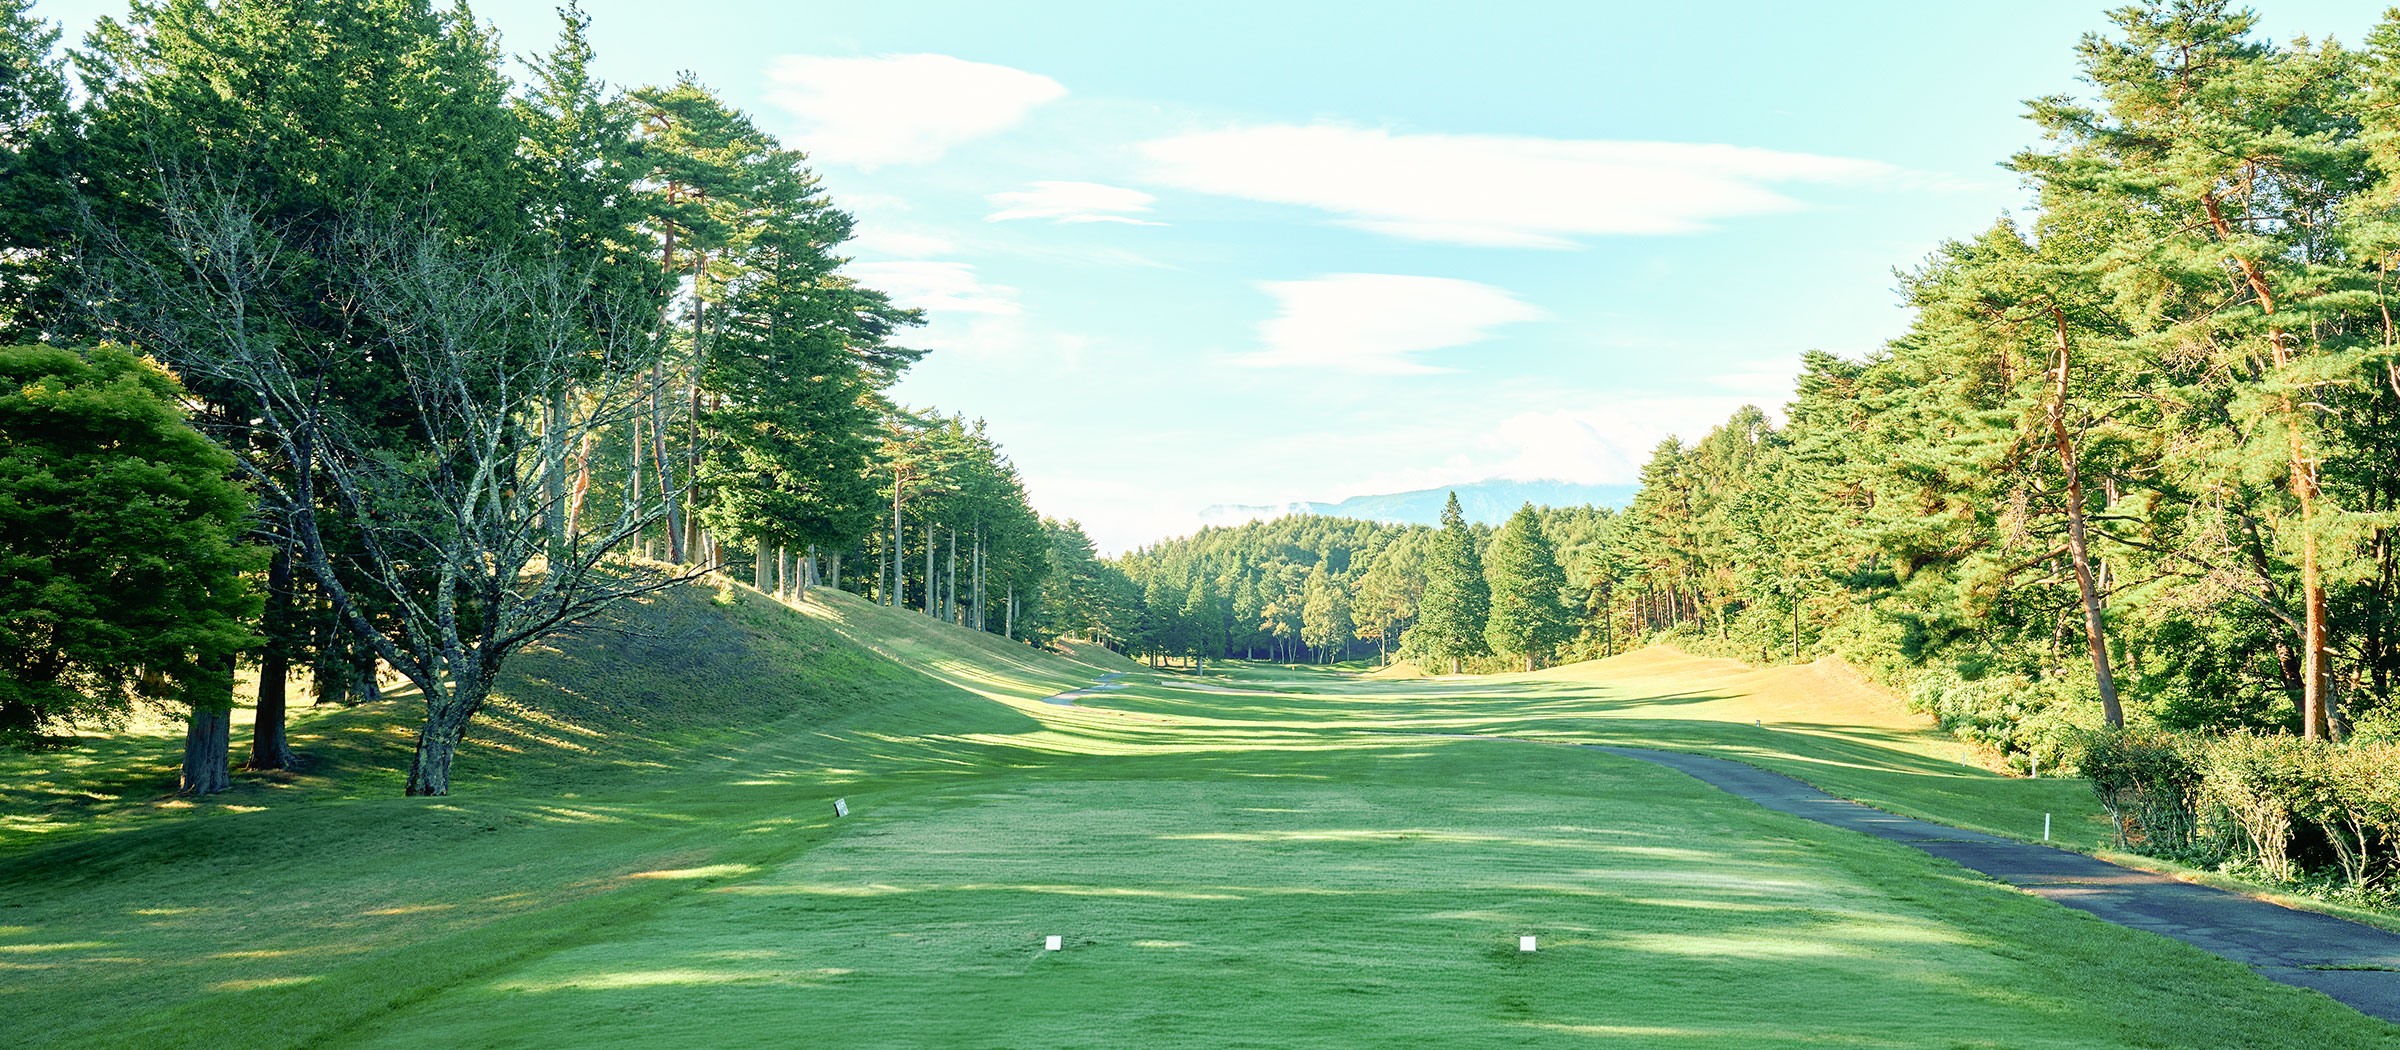
HOLE 13[ PAR 5 ]
A flat, long hole. Aim for the center on the tee shot, and carefully judge the pin position on the three-tiered green for your second shot.
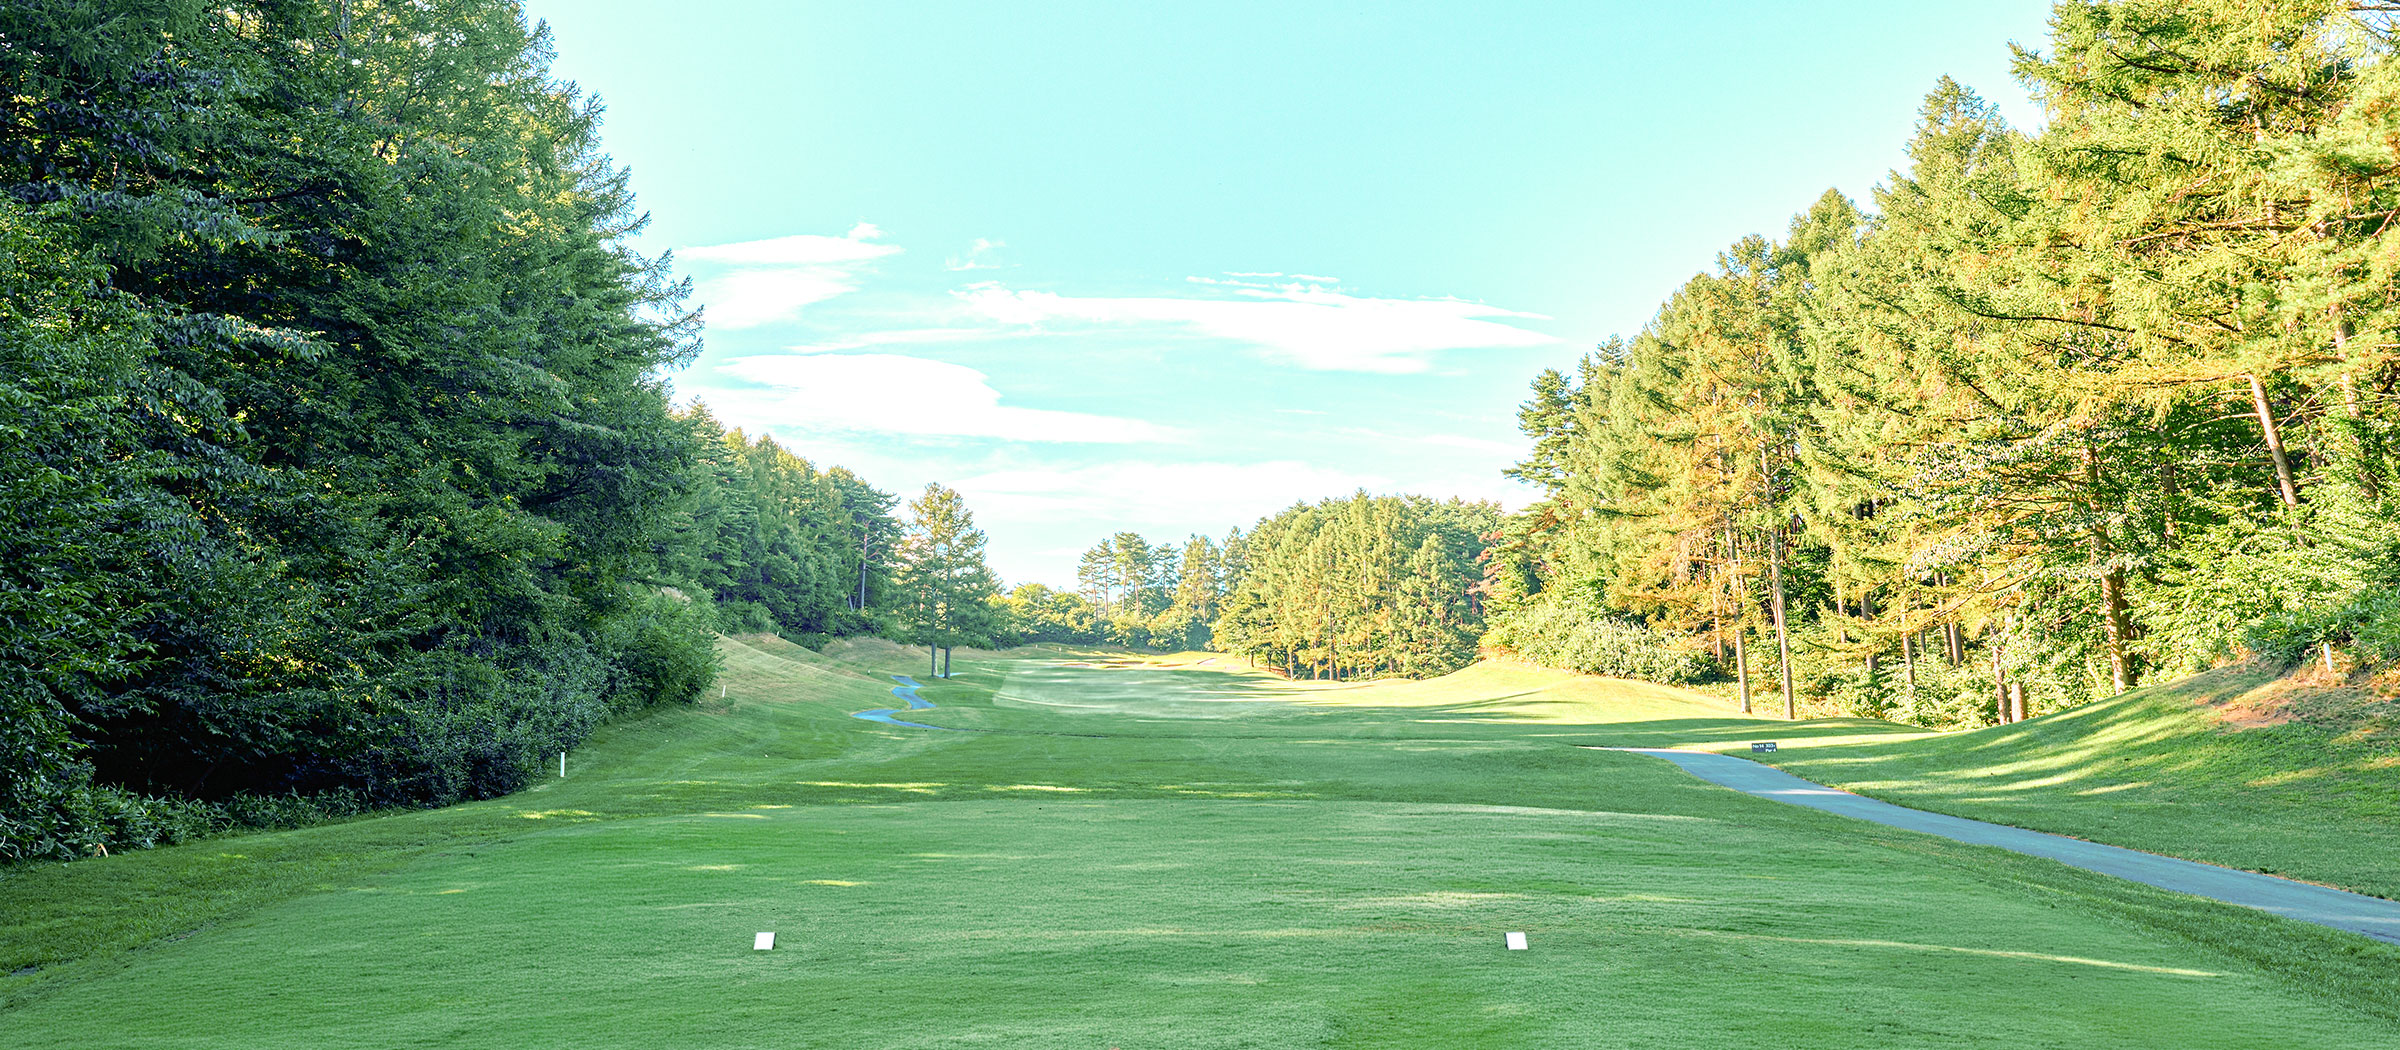
HOLE 14[ PAR 4 ]
A slightly uphill, mid-length hole. Aim right of the larch trees on the tee shot, and on the second shot, play safely to avoid the front bunker.
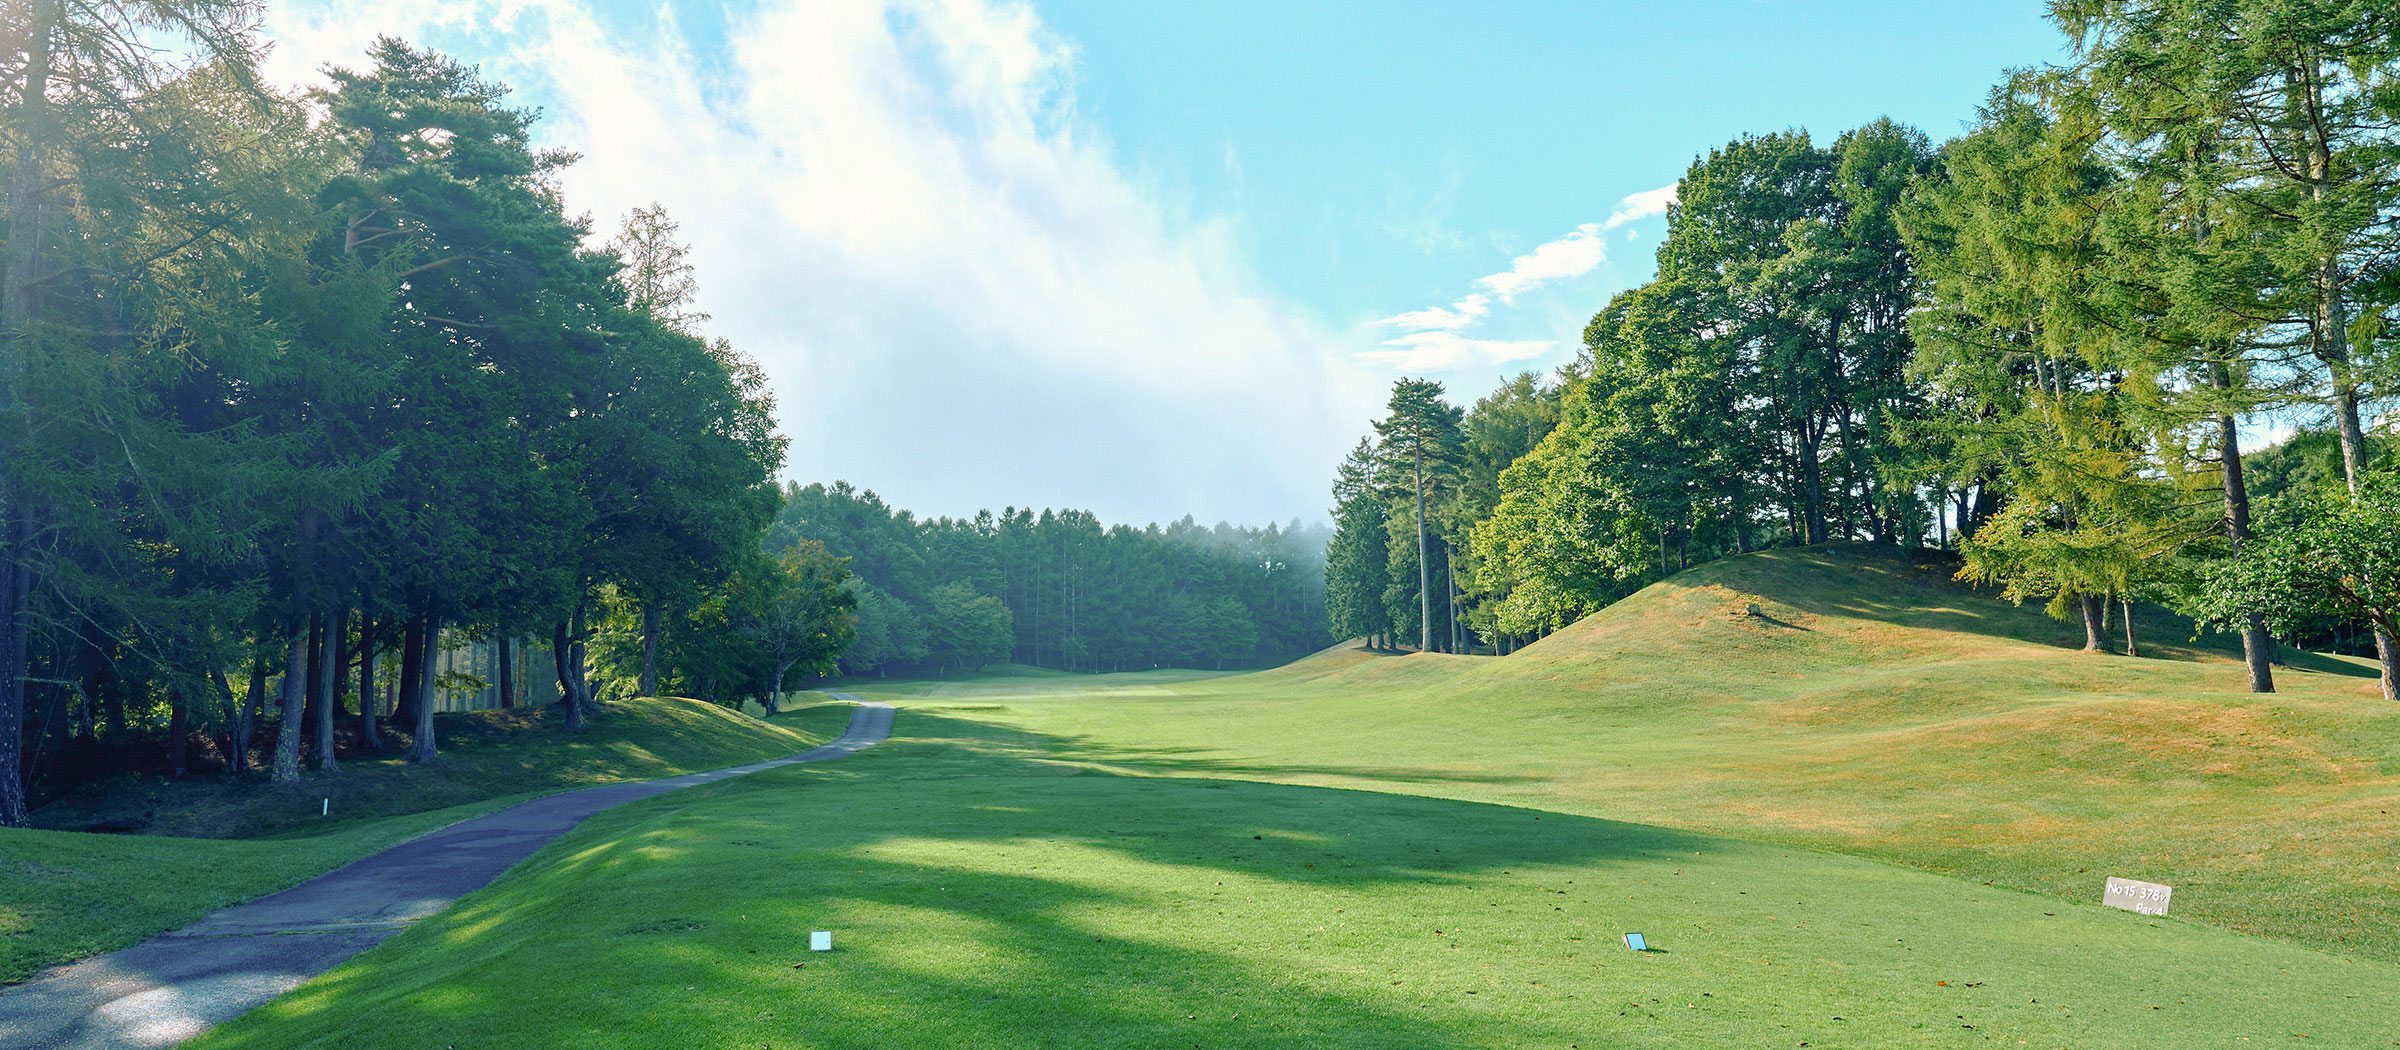
HOLE 15[ PAR 4 ]
A long mid-length hole. Aim for the left side on the tee shot, and on the second shot, carefully judge the distance.
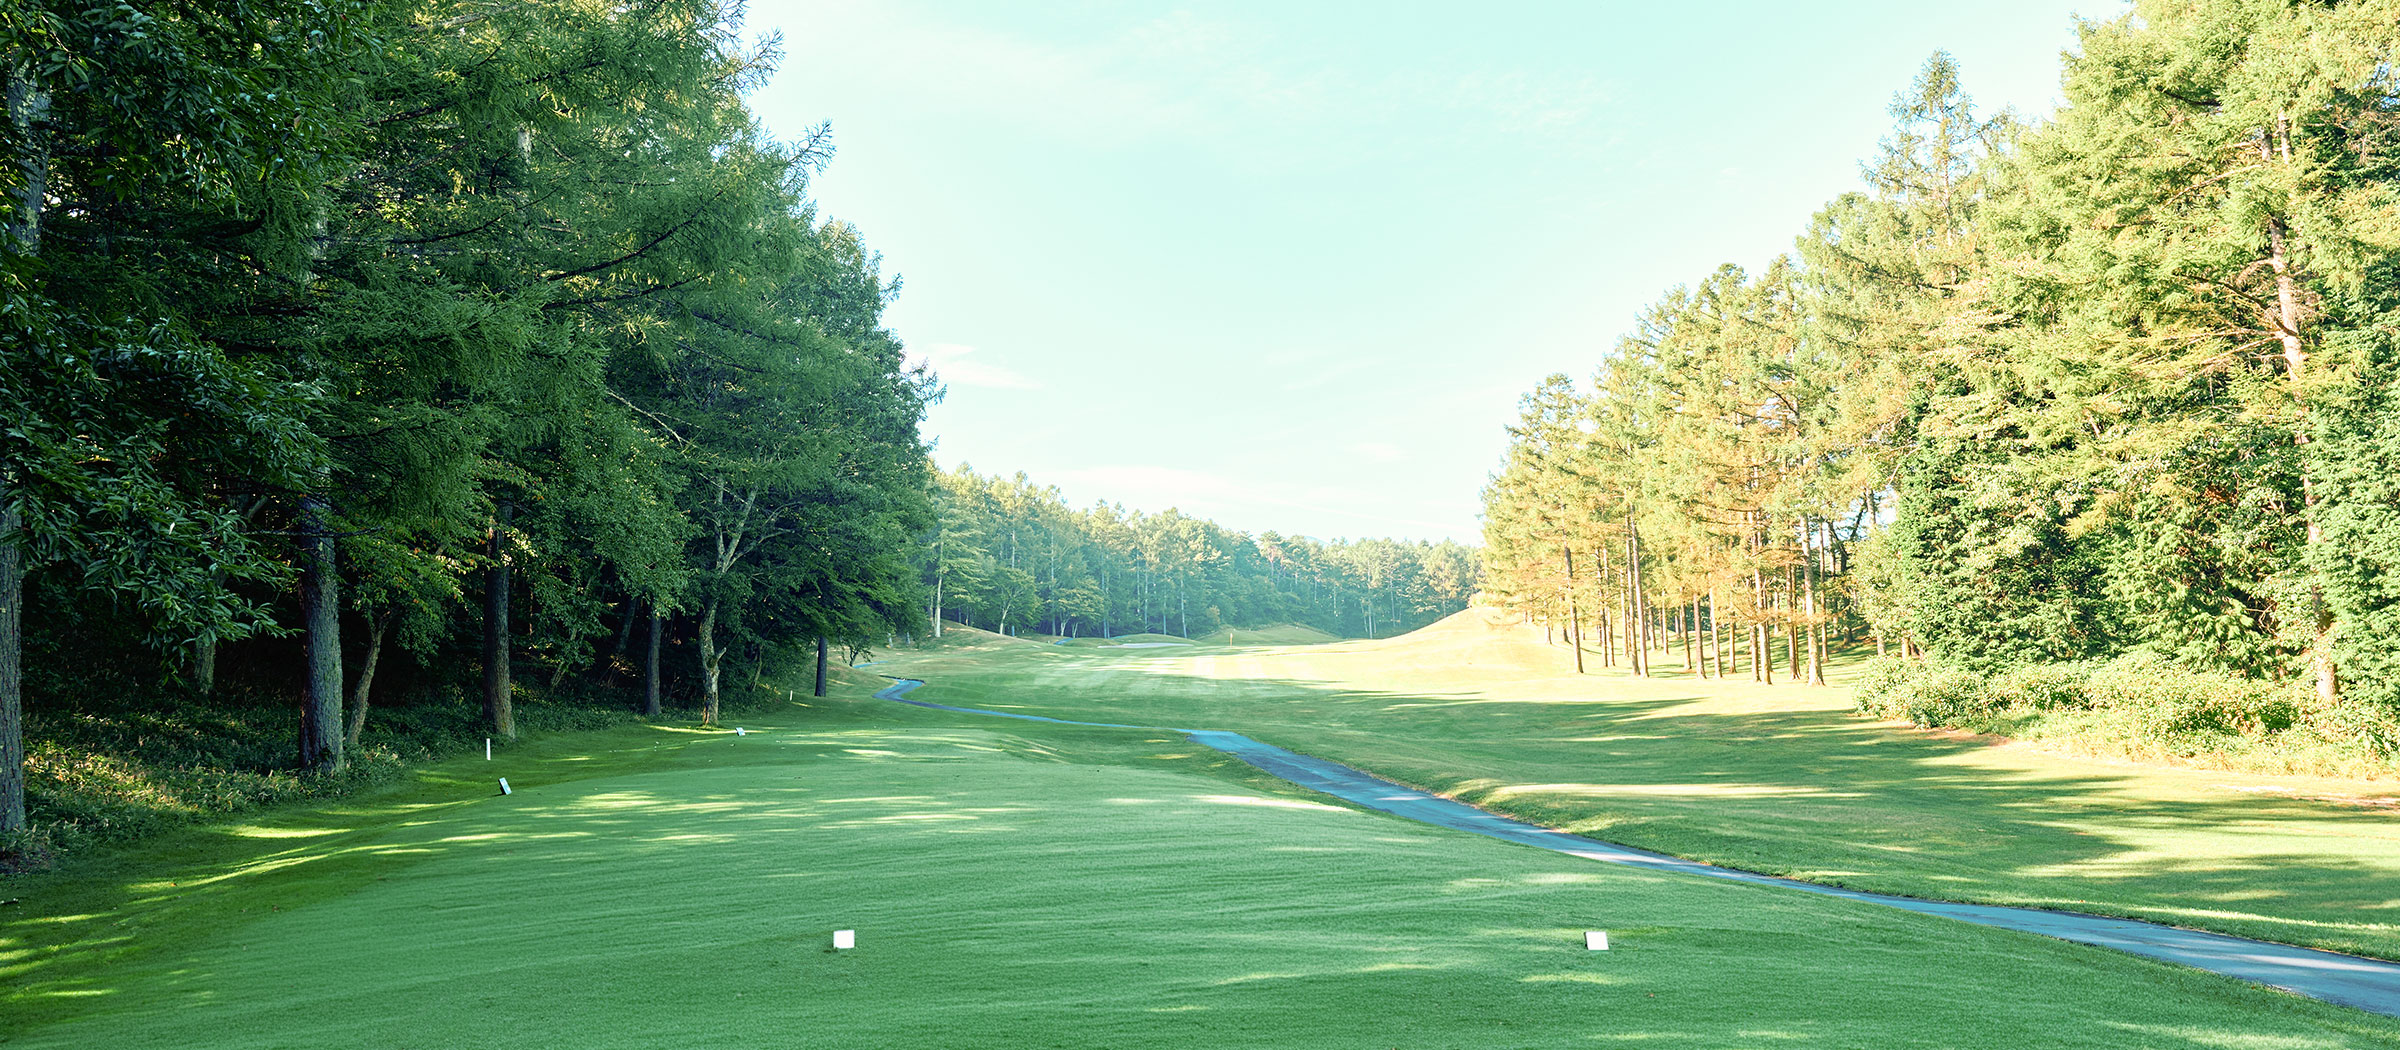
HOLE 16[ PAR 4 ]
A slightly uphill mid-length hole. Aim for the center on the tee shot, and on the second shot, play carefully to avoid the front bunker.
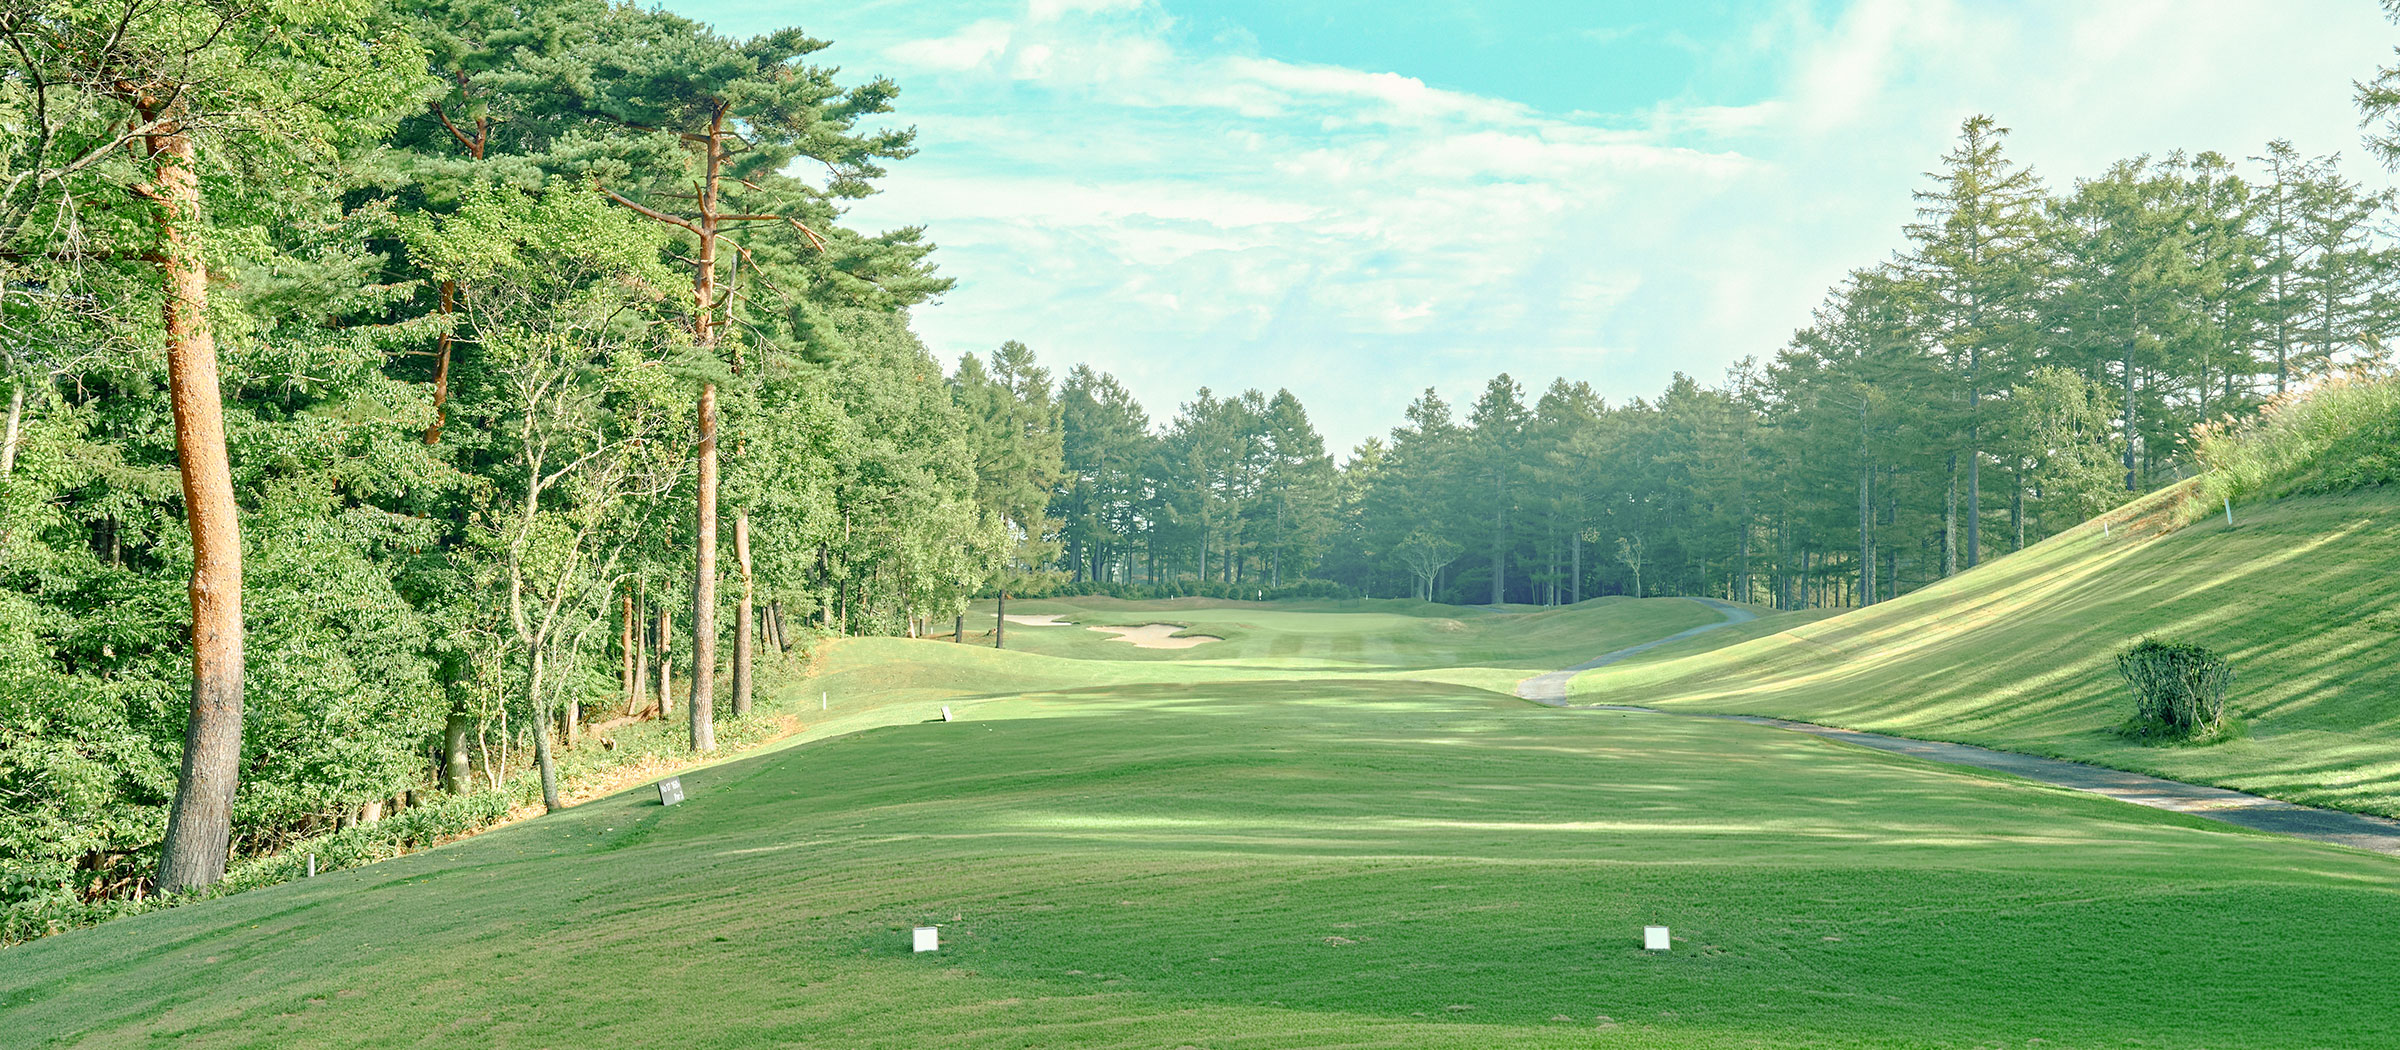
HOLE 17[ PAR 3 ]
A slightly downhill short hole. Avoid the left OB, with distance control and club selection being key to scoring.
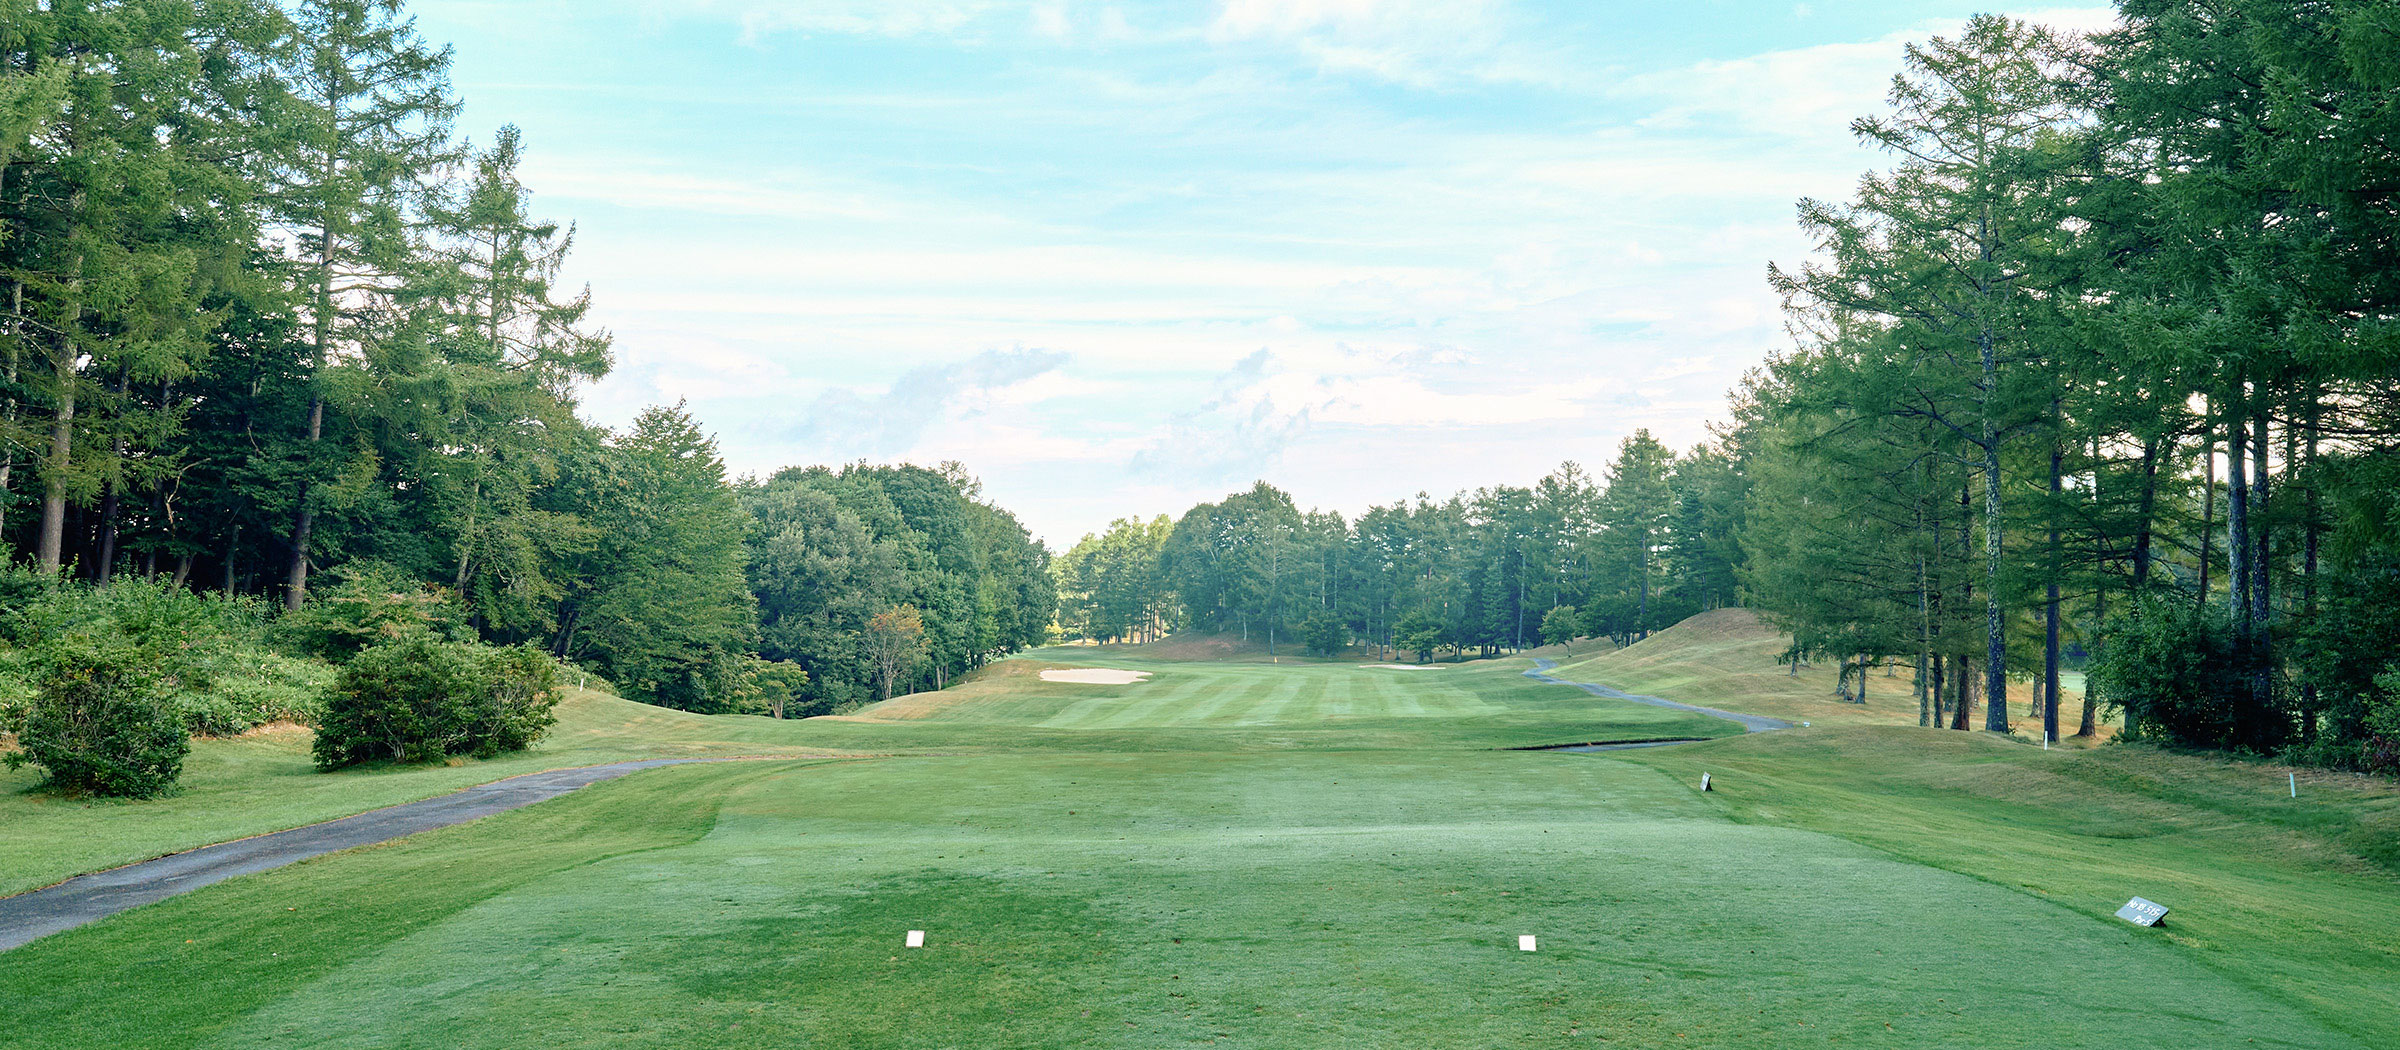
HOLE 18[ PAR 5 ]
A long hole. Aim for the right bunker on the tee shot, then decide whether to lay up short of the pond or go for the green in two on the second shot.
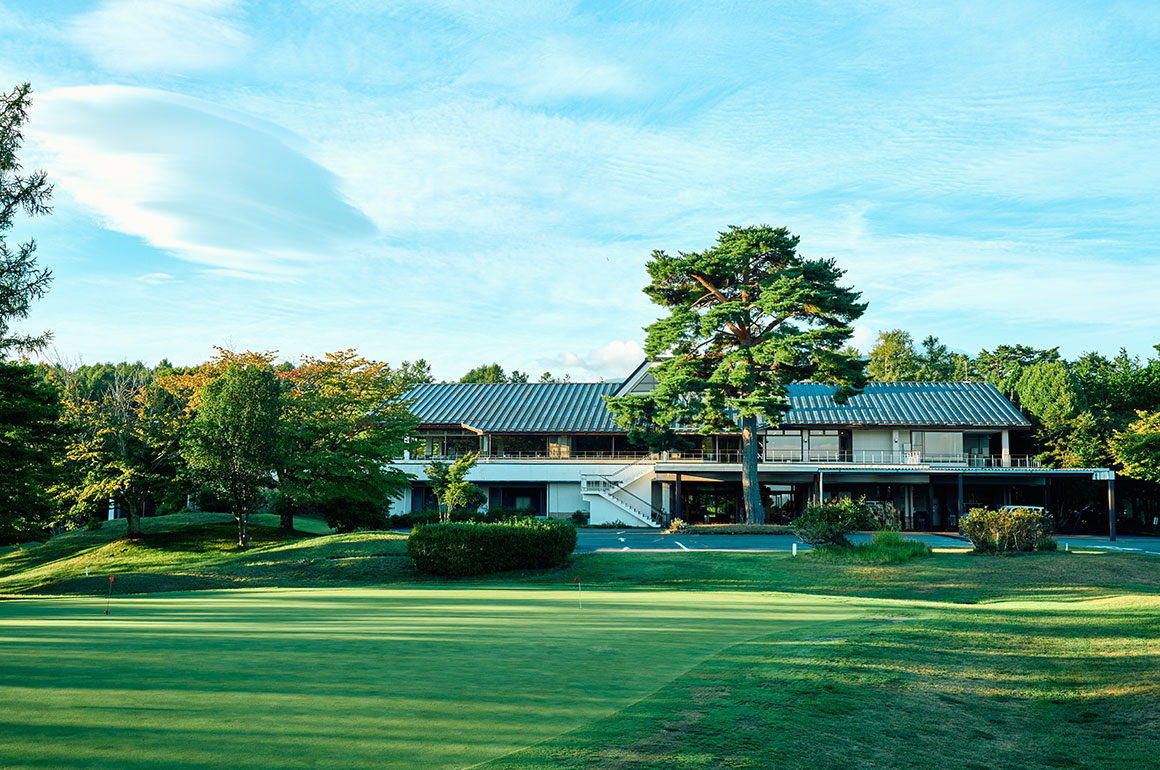
Clubhouse
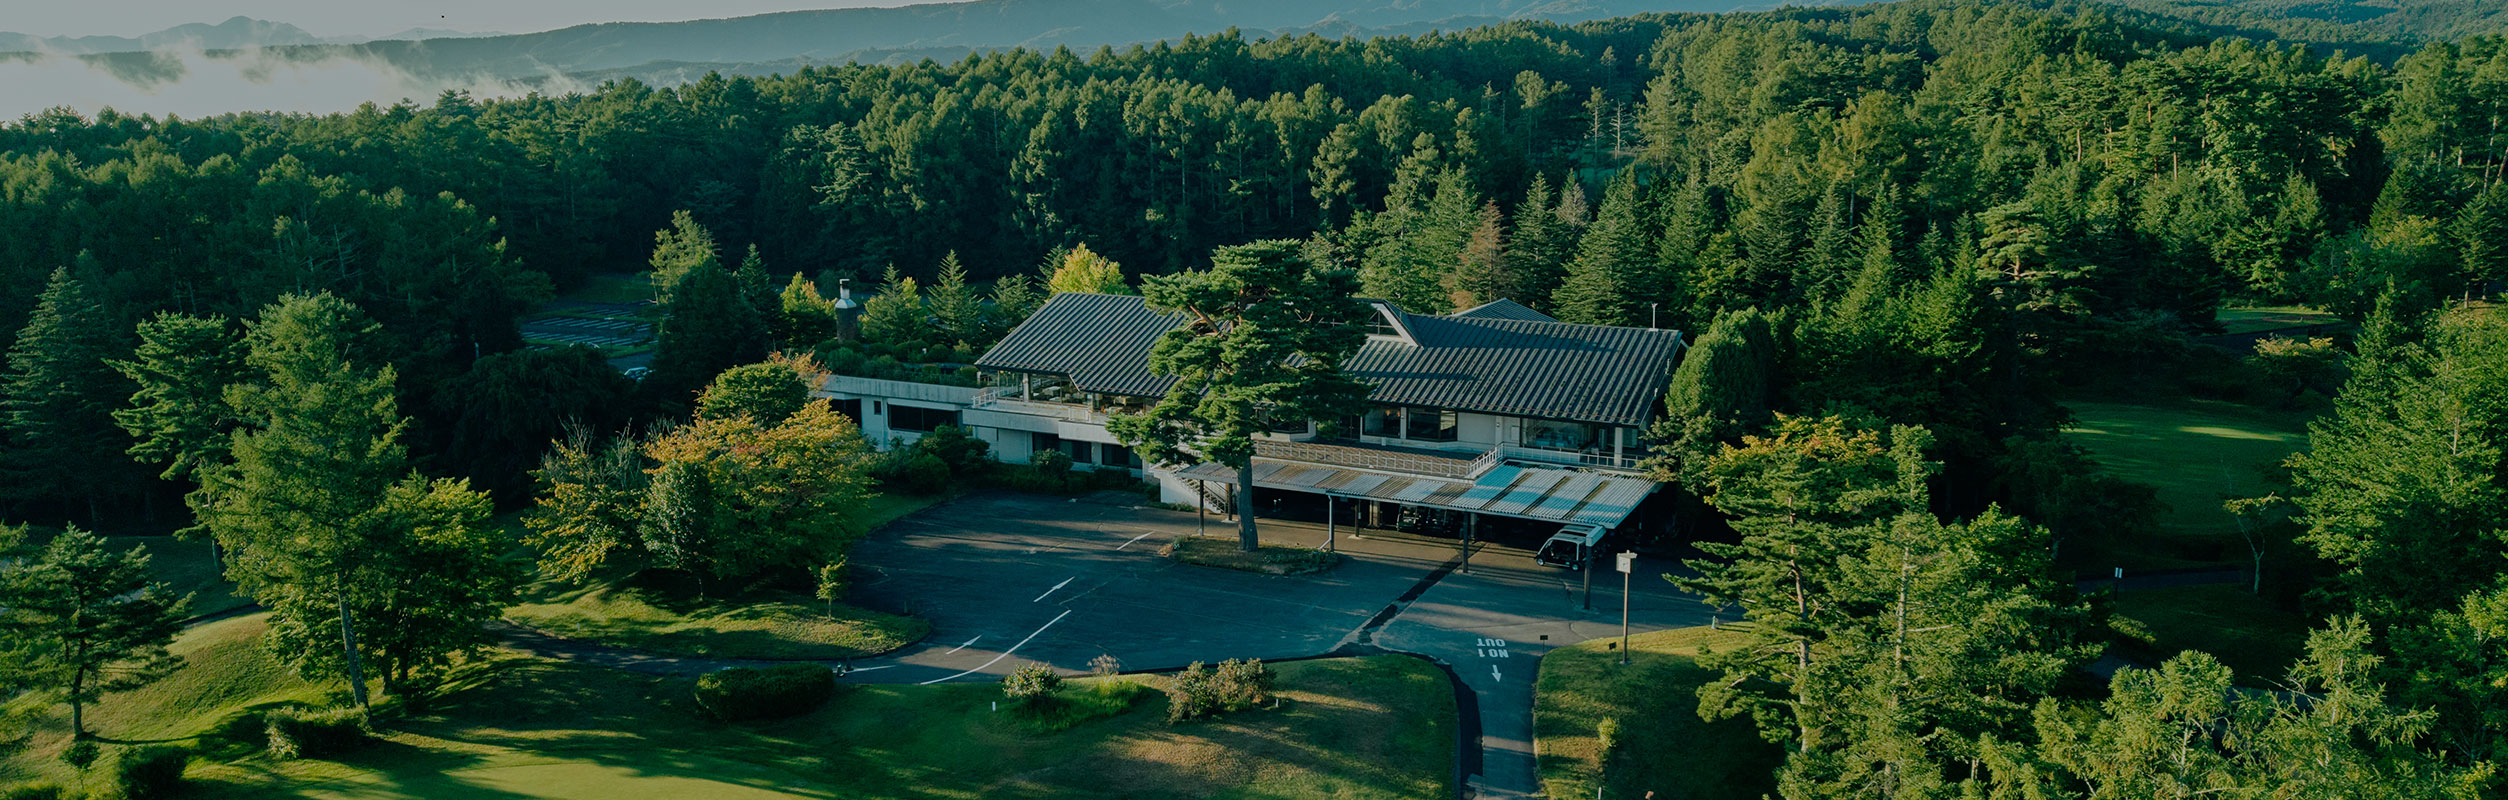
Surrounded by the refreshing air of the highlands, the clubhouse offers a comfortable space where you can enjoy the surrounding mountains and natural scenery while relaxing between rounds.
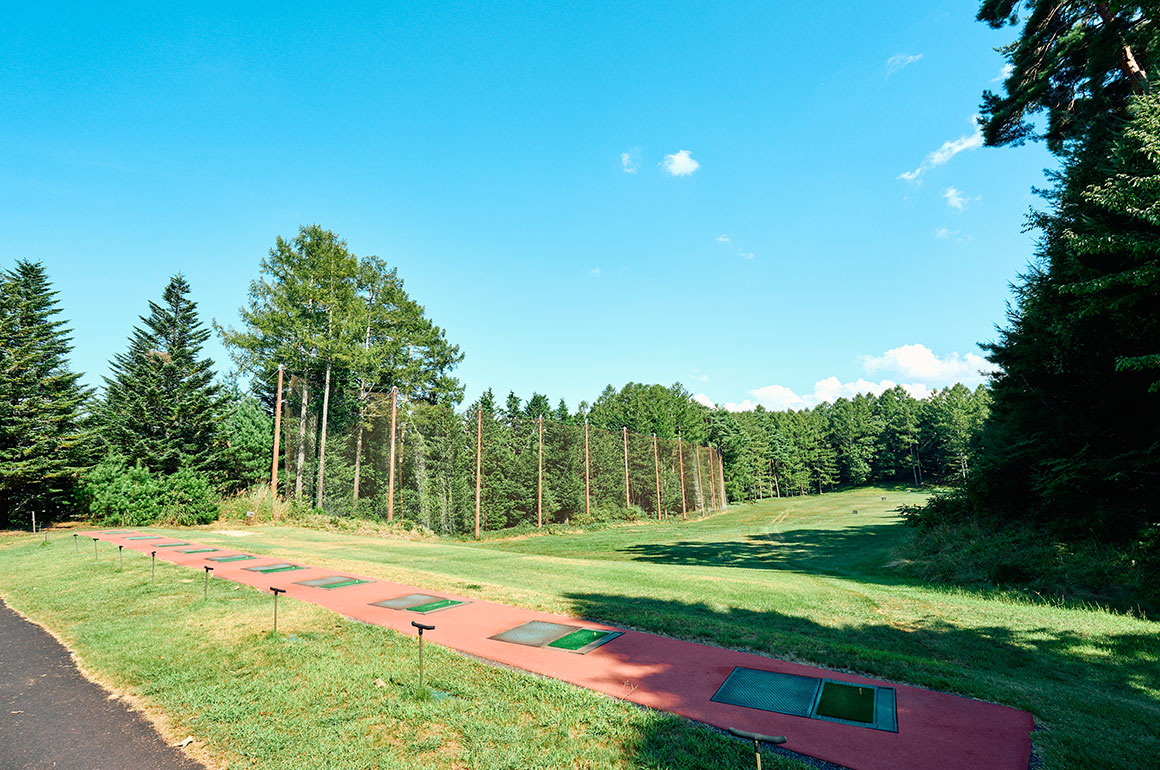
Driving Range
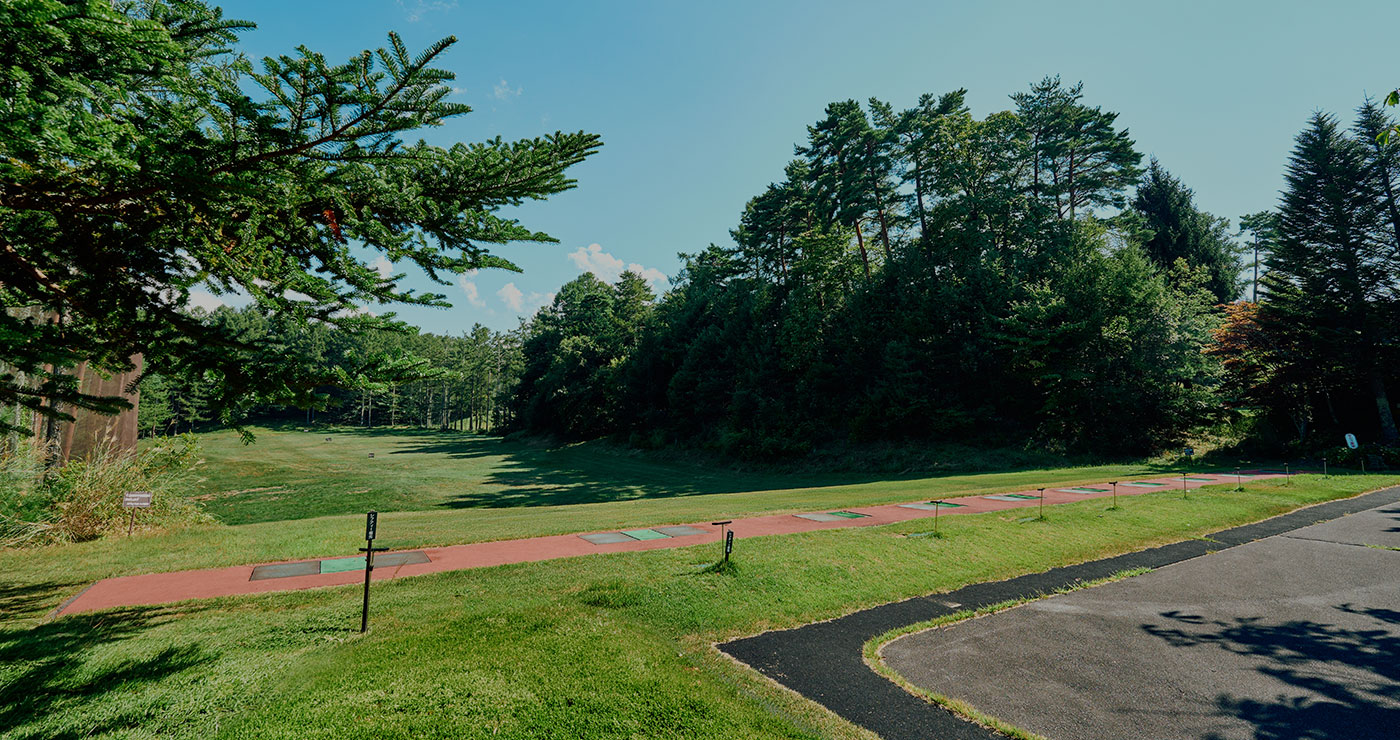
Featuring 12 hitting bays and a maximum distance of 250 yards, the driving range provides an ideal environment for checking even your driver shots and preparing before your round.
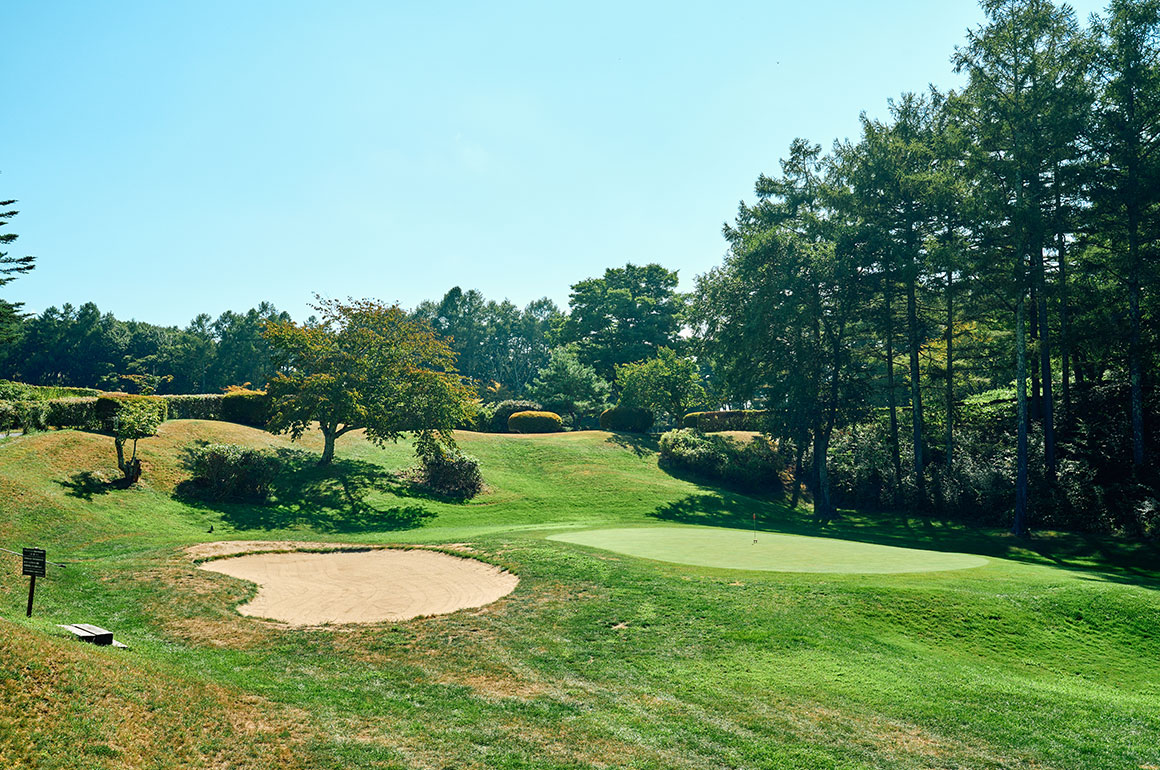
Approach & Bunker
This practice area allows you to check the feel of approach and bunker shots, making it suitable for preparation before your start or for additional practice after your r
The Signature Hole
A signature hole that embodies the strategic concept of the entire course and offers a breathtaking view that can only be seen here.
An unforgettable time and experience that can only be savored at Mochizuki Resol Golf Club.
Experience
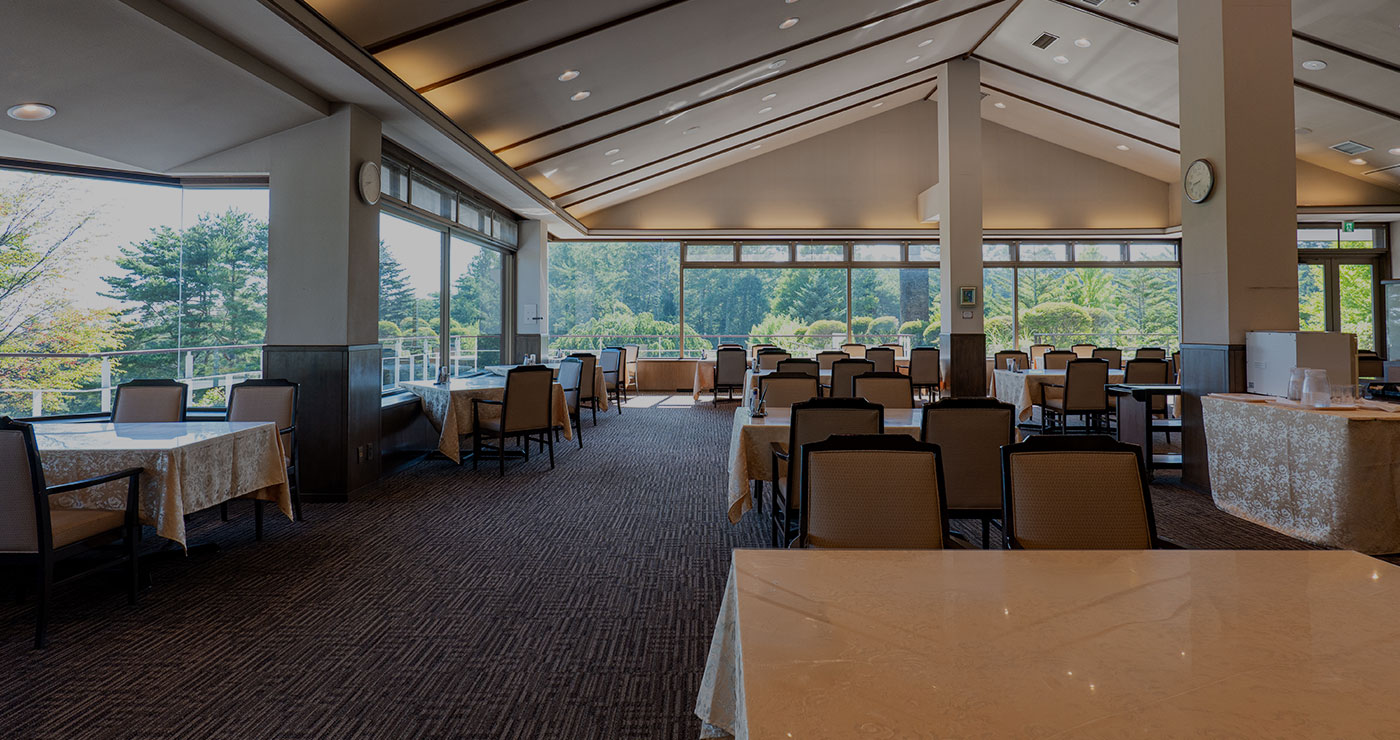
A neatly maintained clubhouse, a restaurant that carefully prepares each dish under the light of Mount Asama, a large bathhouse to heal body and mind, and practice facilities that allow adjustments as if in actual play.
In every space, the pure atmosphere unique to the highlands breathes life, elevating a day spent here into something truly exceptional.